
Upgrading Your Pop-Up RV Sink and Faucet - The Perfect Solution
Hi! Welcome to Campfire Travelers. Back in 2015, we transformed our little pop-up camper into a shining, clean, and updated home on wheels for less than $1000. We took what we learned and wanted to help others in their own DIY RV renovation. You can learn more here. And if you ever have any questions please feel free to contact us here.
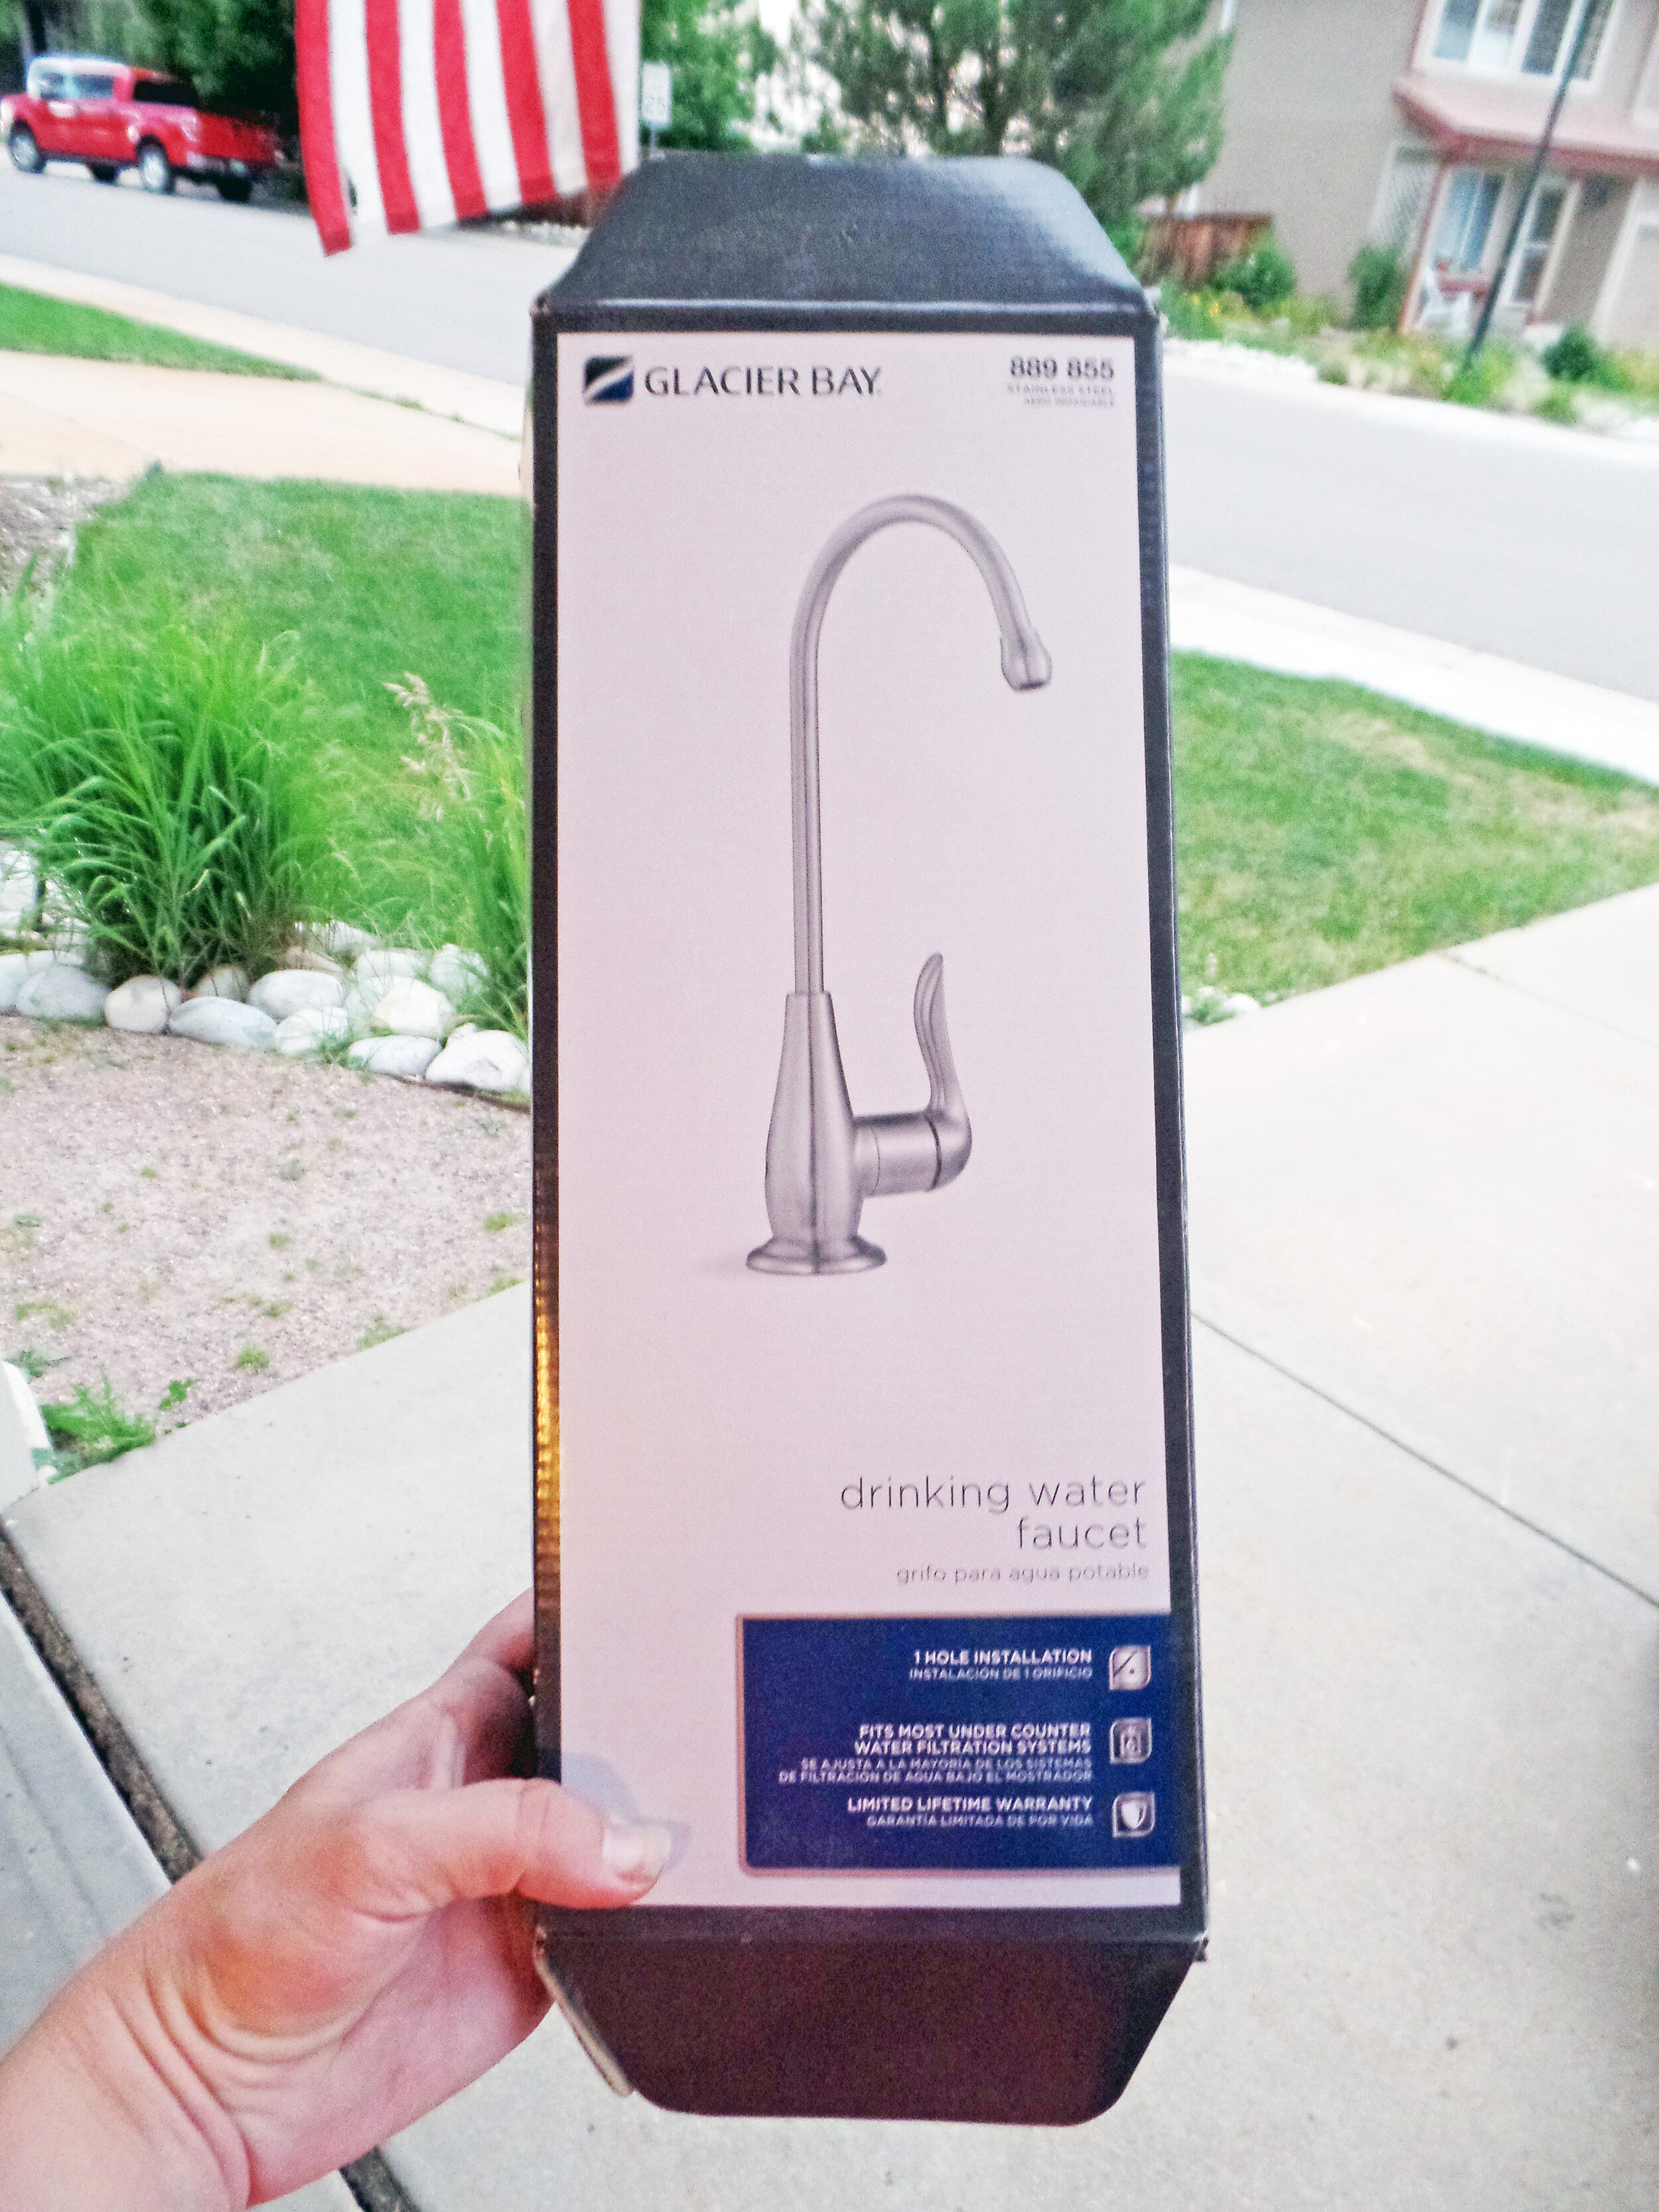
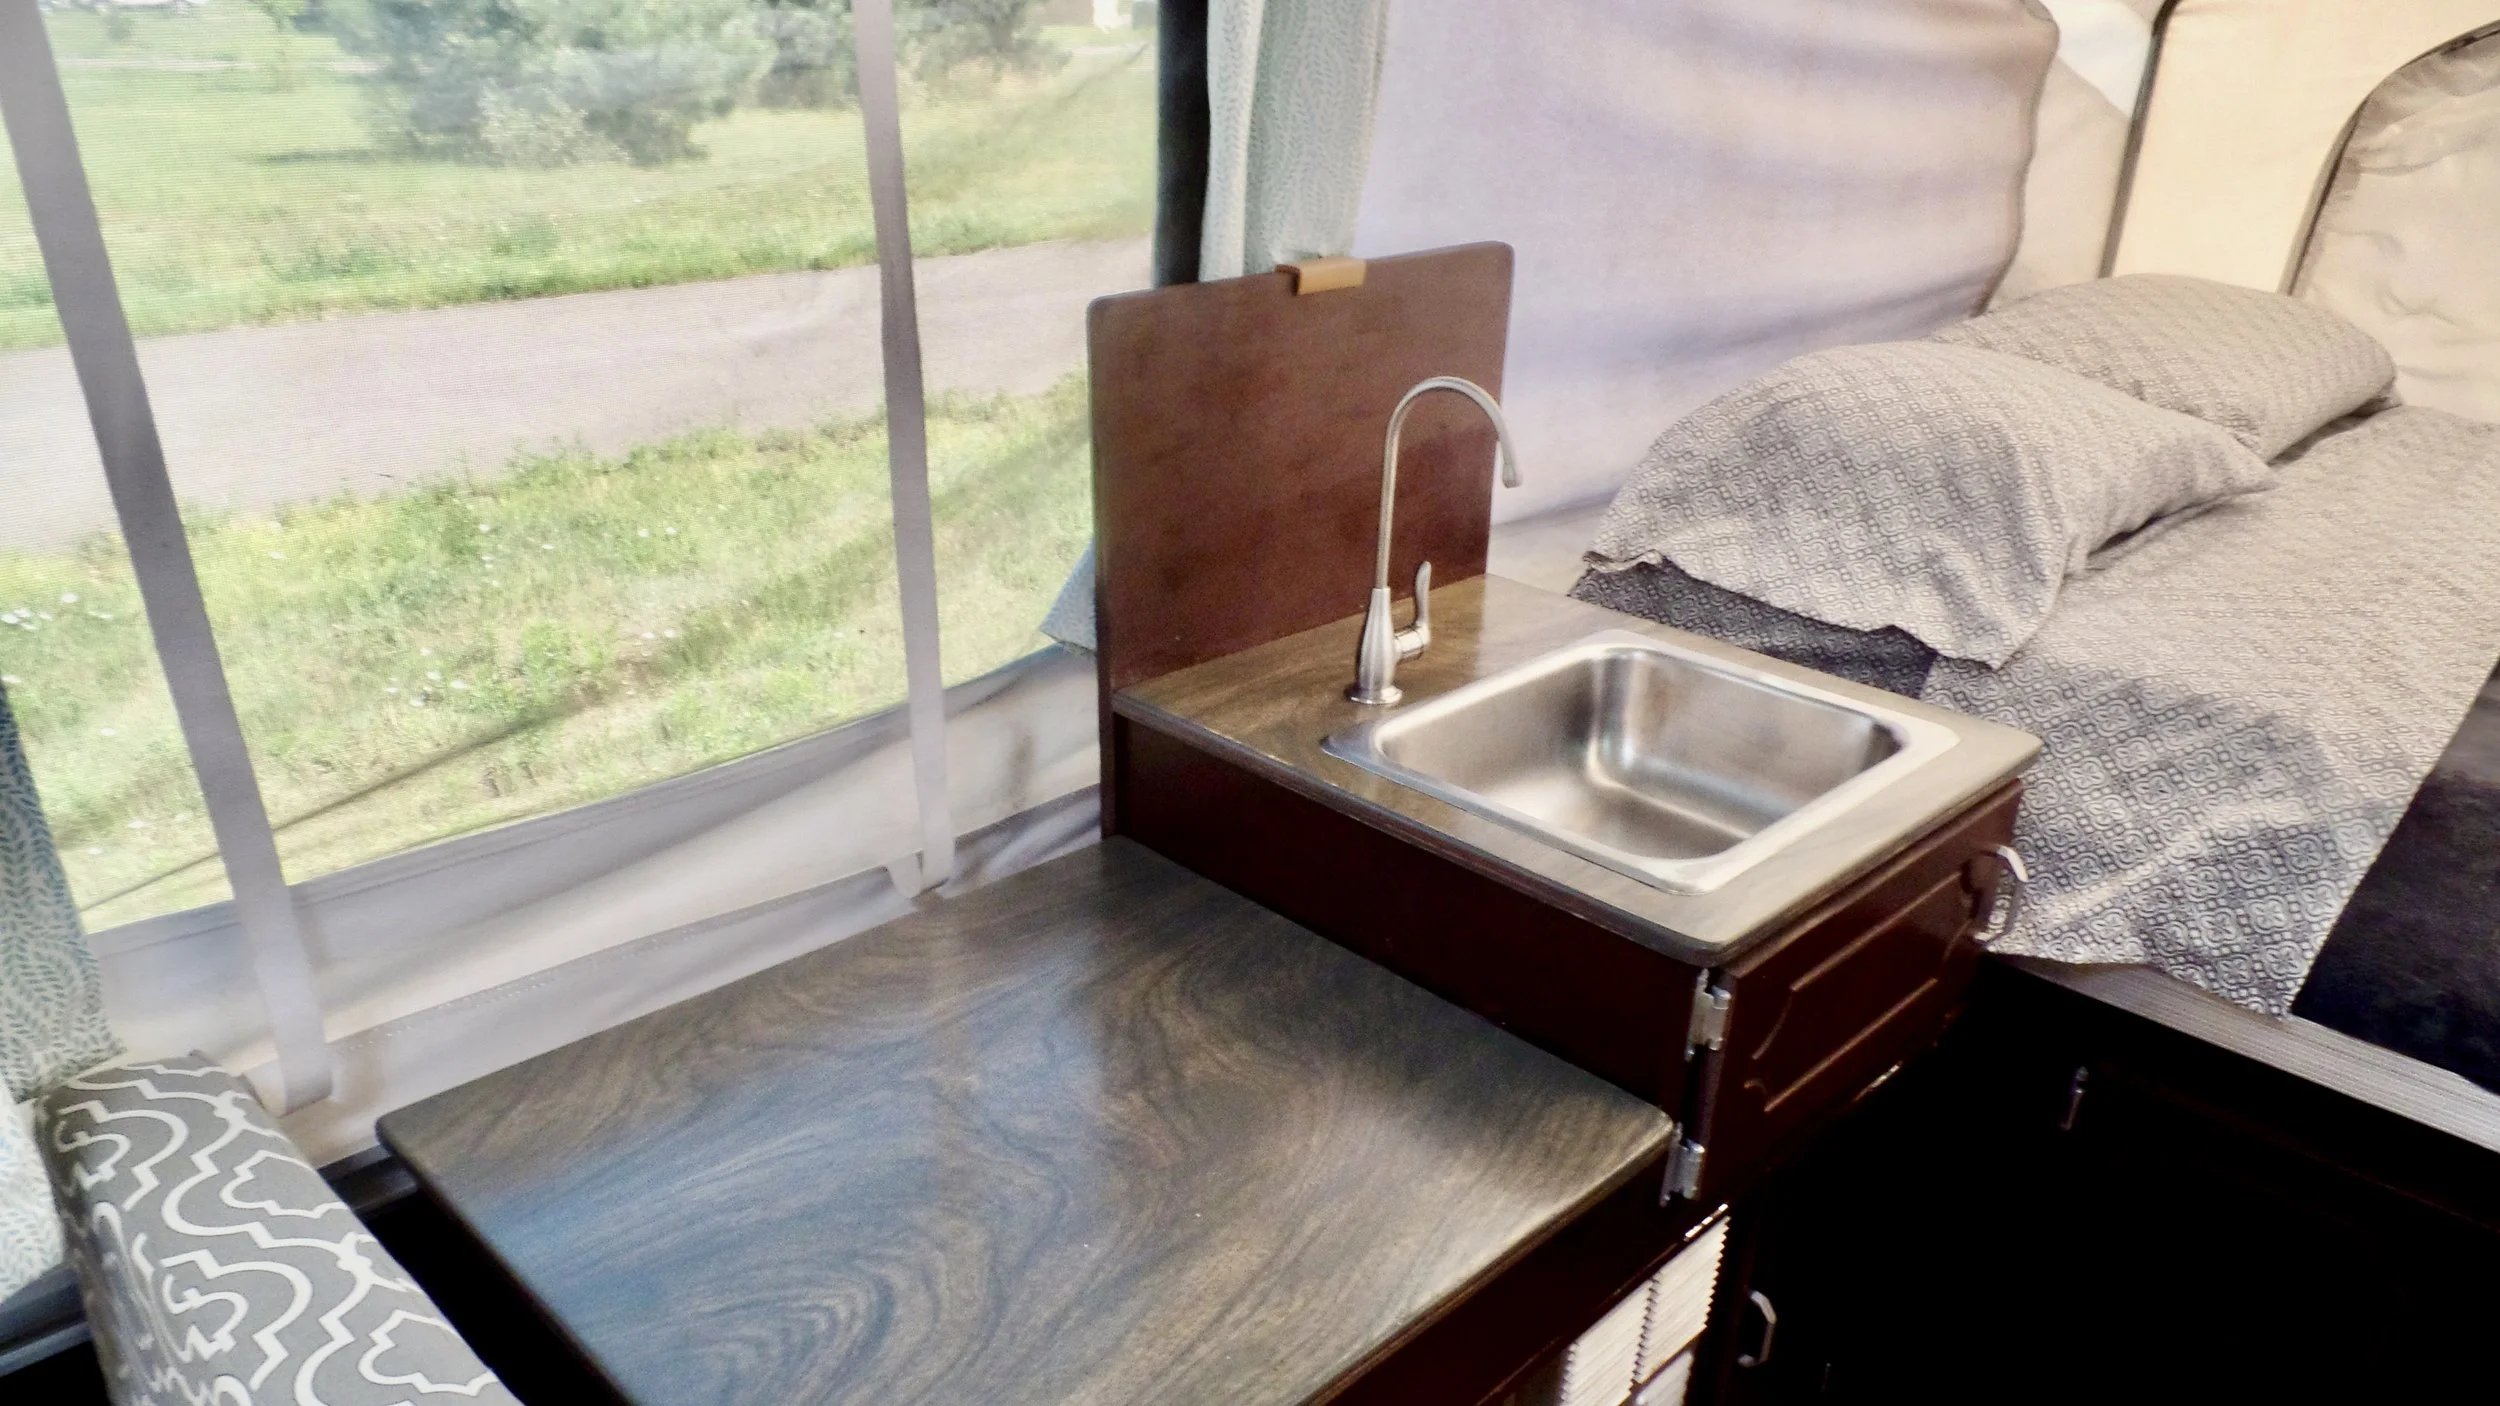
In this post, we share our experience with replacing the faucet and drain components in our camper sink. The original faucet was broken and the drain was in need of replacement, so we decided to make the switch when upgrading the countertops. After considering a pump faucet, we had the idea to install a drinking water faucet instead. The new 7" tall faucet was purchased for $35 and installation was made easier by using the old counter as a template. The final result was a huge success with the faucet working fantastically and making washing dishes much easier. We are extremely happy with the decision and don't even miss the pump faucet when at campgrounds without water hookups.
Okay, friends, we're back today with a little extra info on our sink installation and faucet purchase.
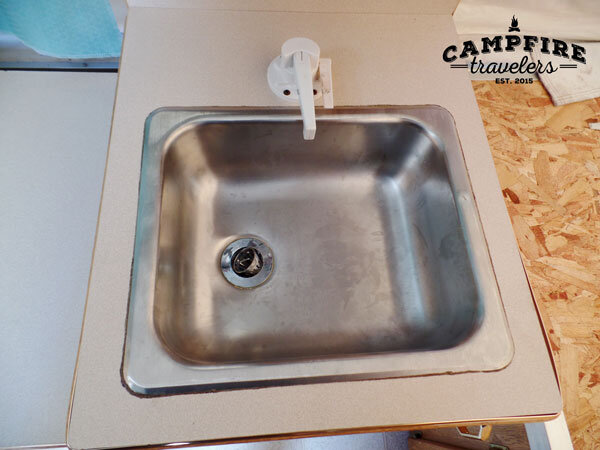
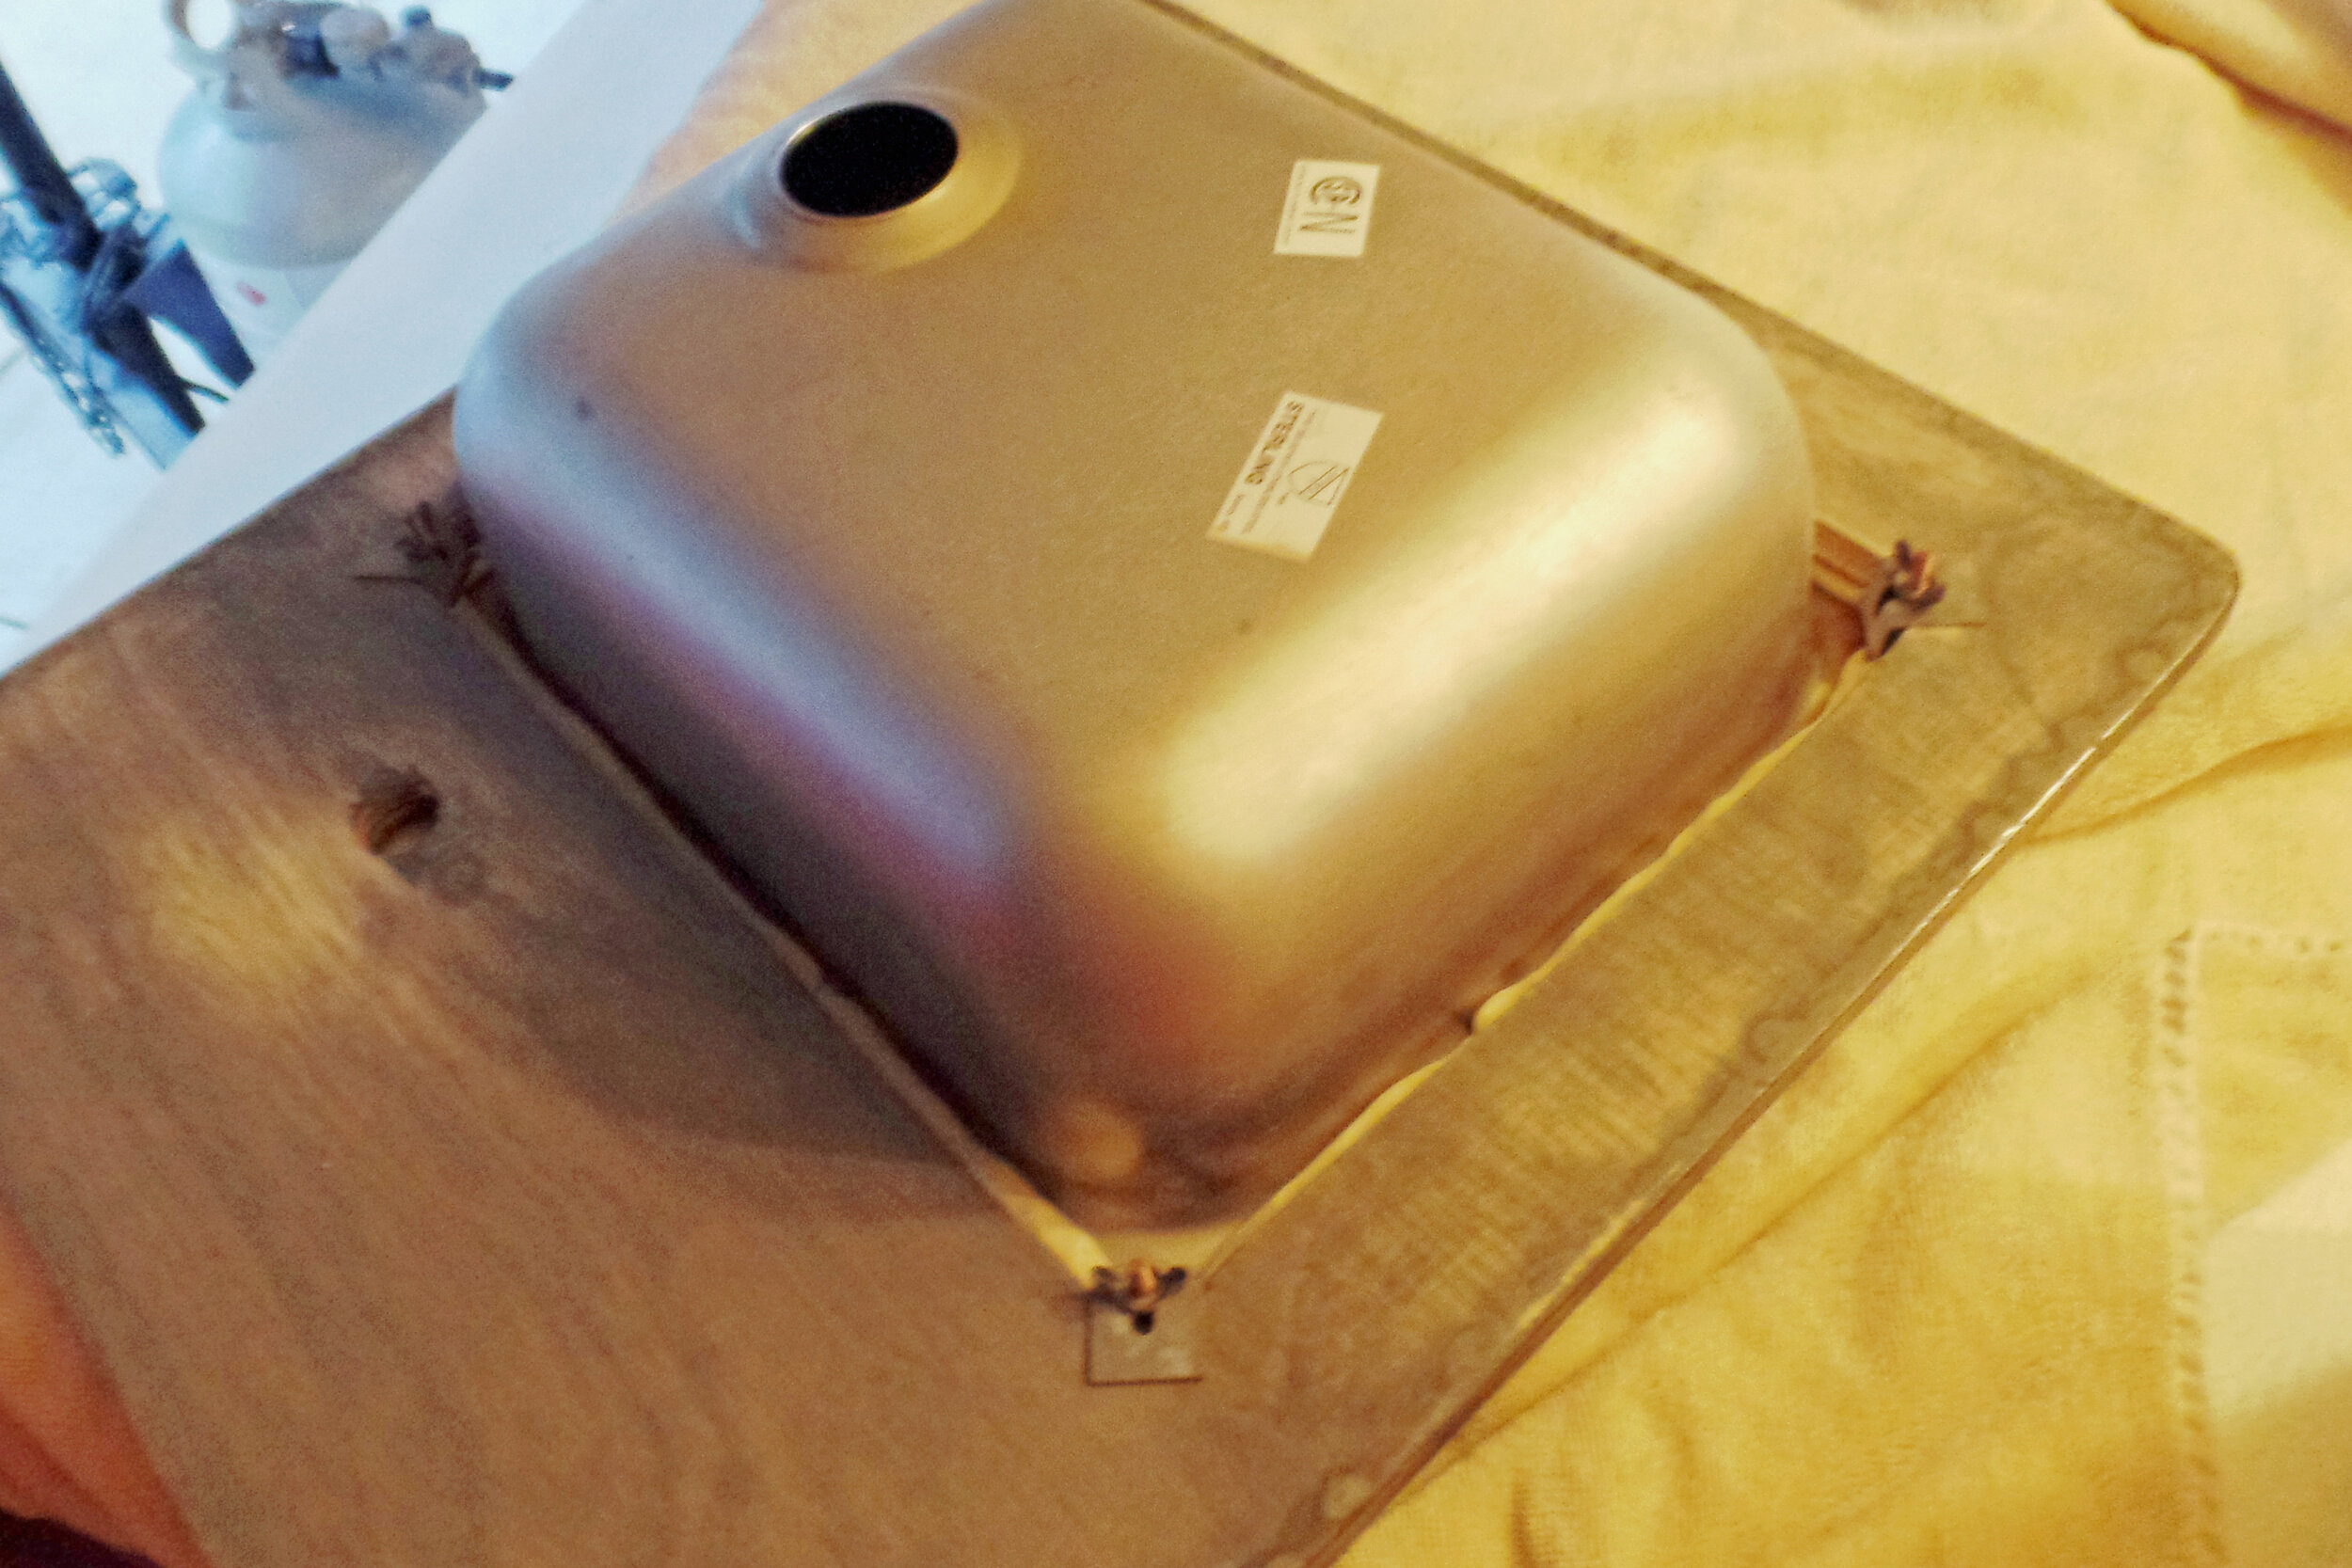
When we bought the camper the sink bowl was actually in great condition! But the faucet was broken and the drain, drain plug, and tubes were in need of replacement. Big time! So as soon as we decided to replace the counters the discussion was on for a new faucet since now we had the option of moving the hole.
I'm not a big fan of your typical RV pump faucets. Plus, the chances of us using the water storage and needing the pump are very slim. We prefer campgrounds with water hookups. Also, the water storage container takes up valuable storage space for other things. Not to mention, the low profile is awful for washing anything bigger than a spoon. Lastly, I honestly don't like how it looks.
When researching alternatives to the pump, I had a crazy thought. When I was growing up, my grandma always had one of those tiny water faucets at her sink for drinking water. And the more I thought about it, the more I wondered if that was our solution? I threw the idea at Jason and after some thought about flow and such, we decided to give it a try.
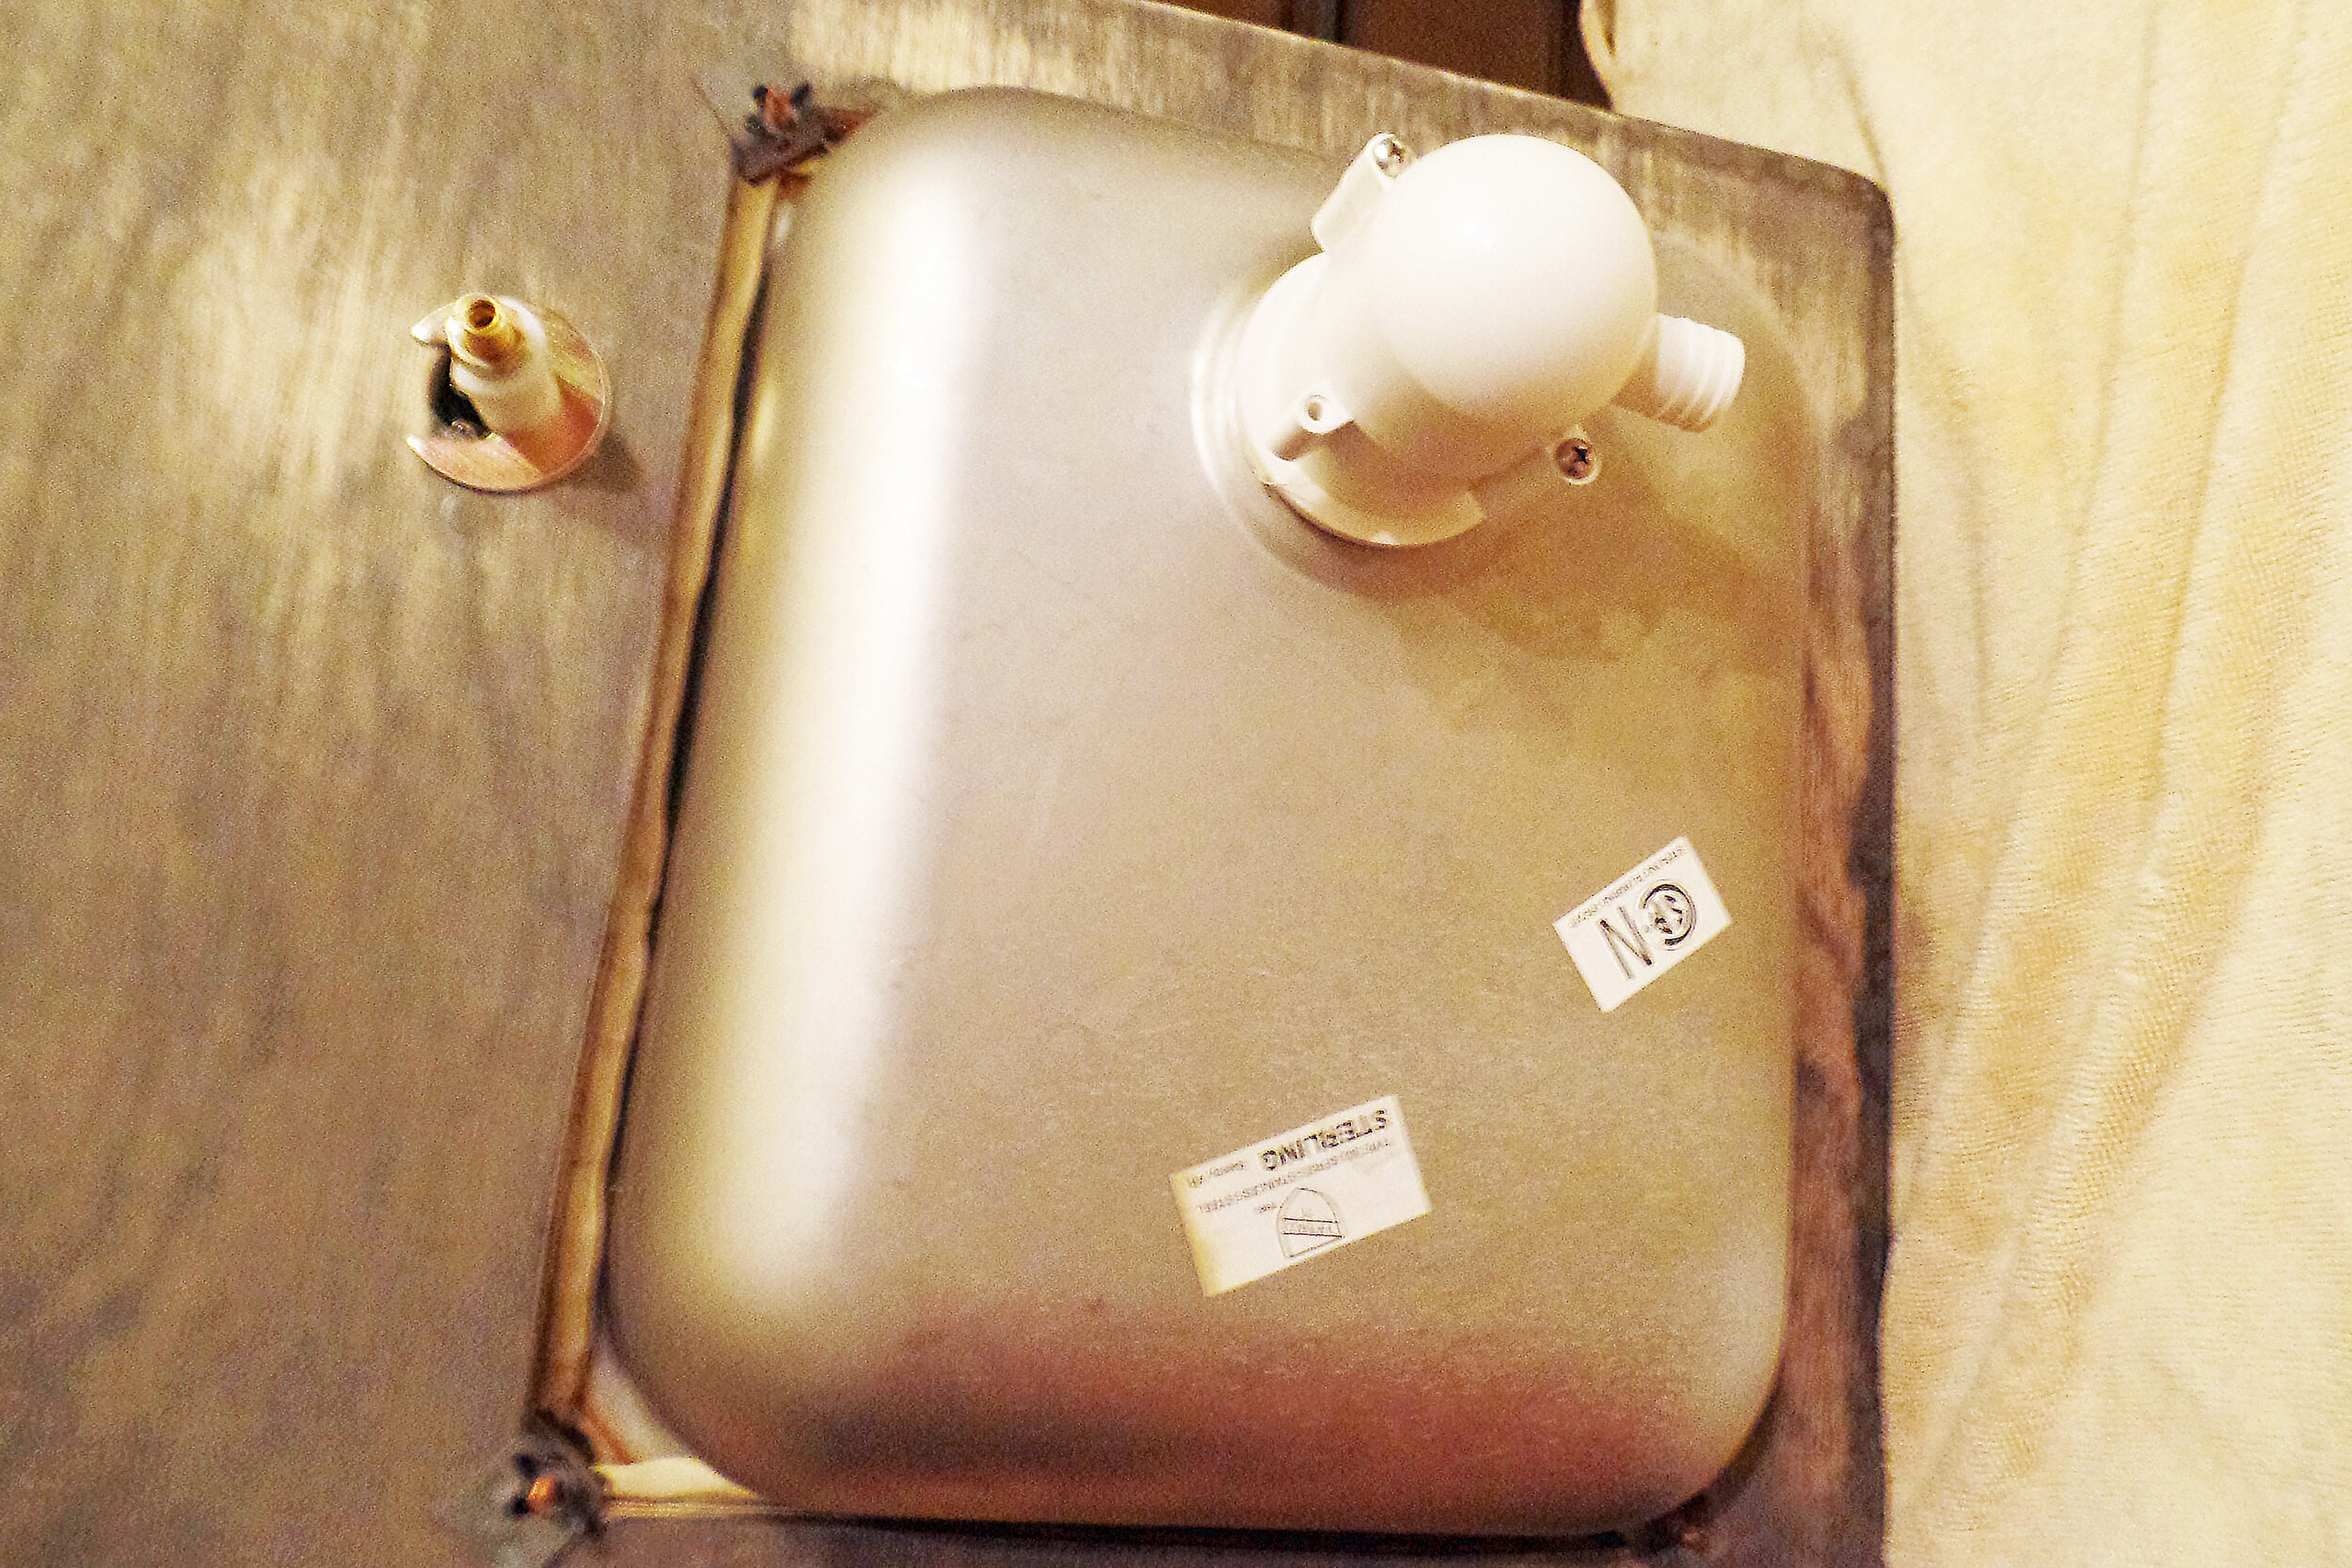
We purchased a drinking water faucet for $35 at Home Depot. It is 7" tall and 3/8" thick. The water flow is adjustable and the connections fit with exactly what we needed.
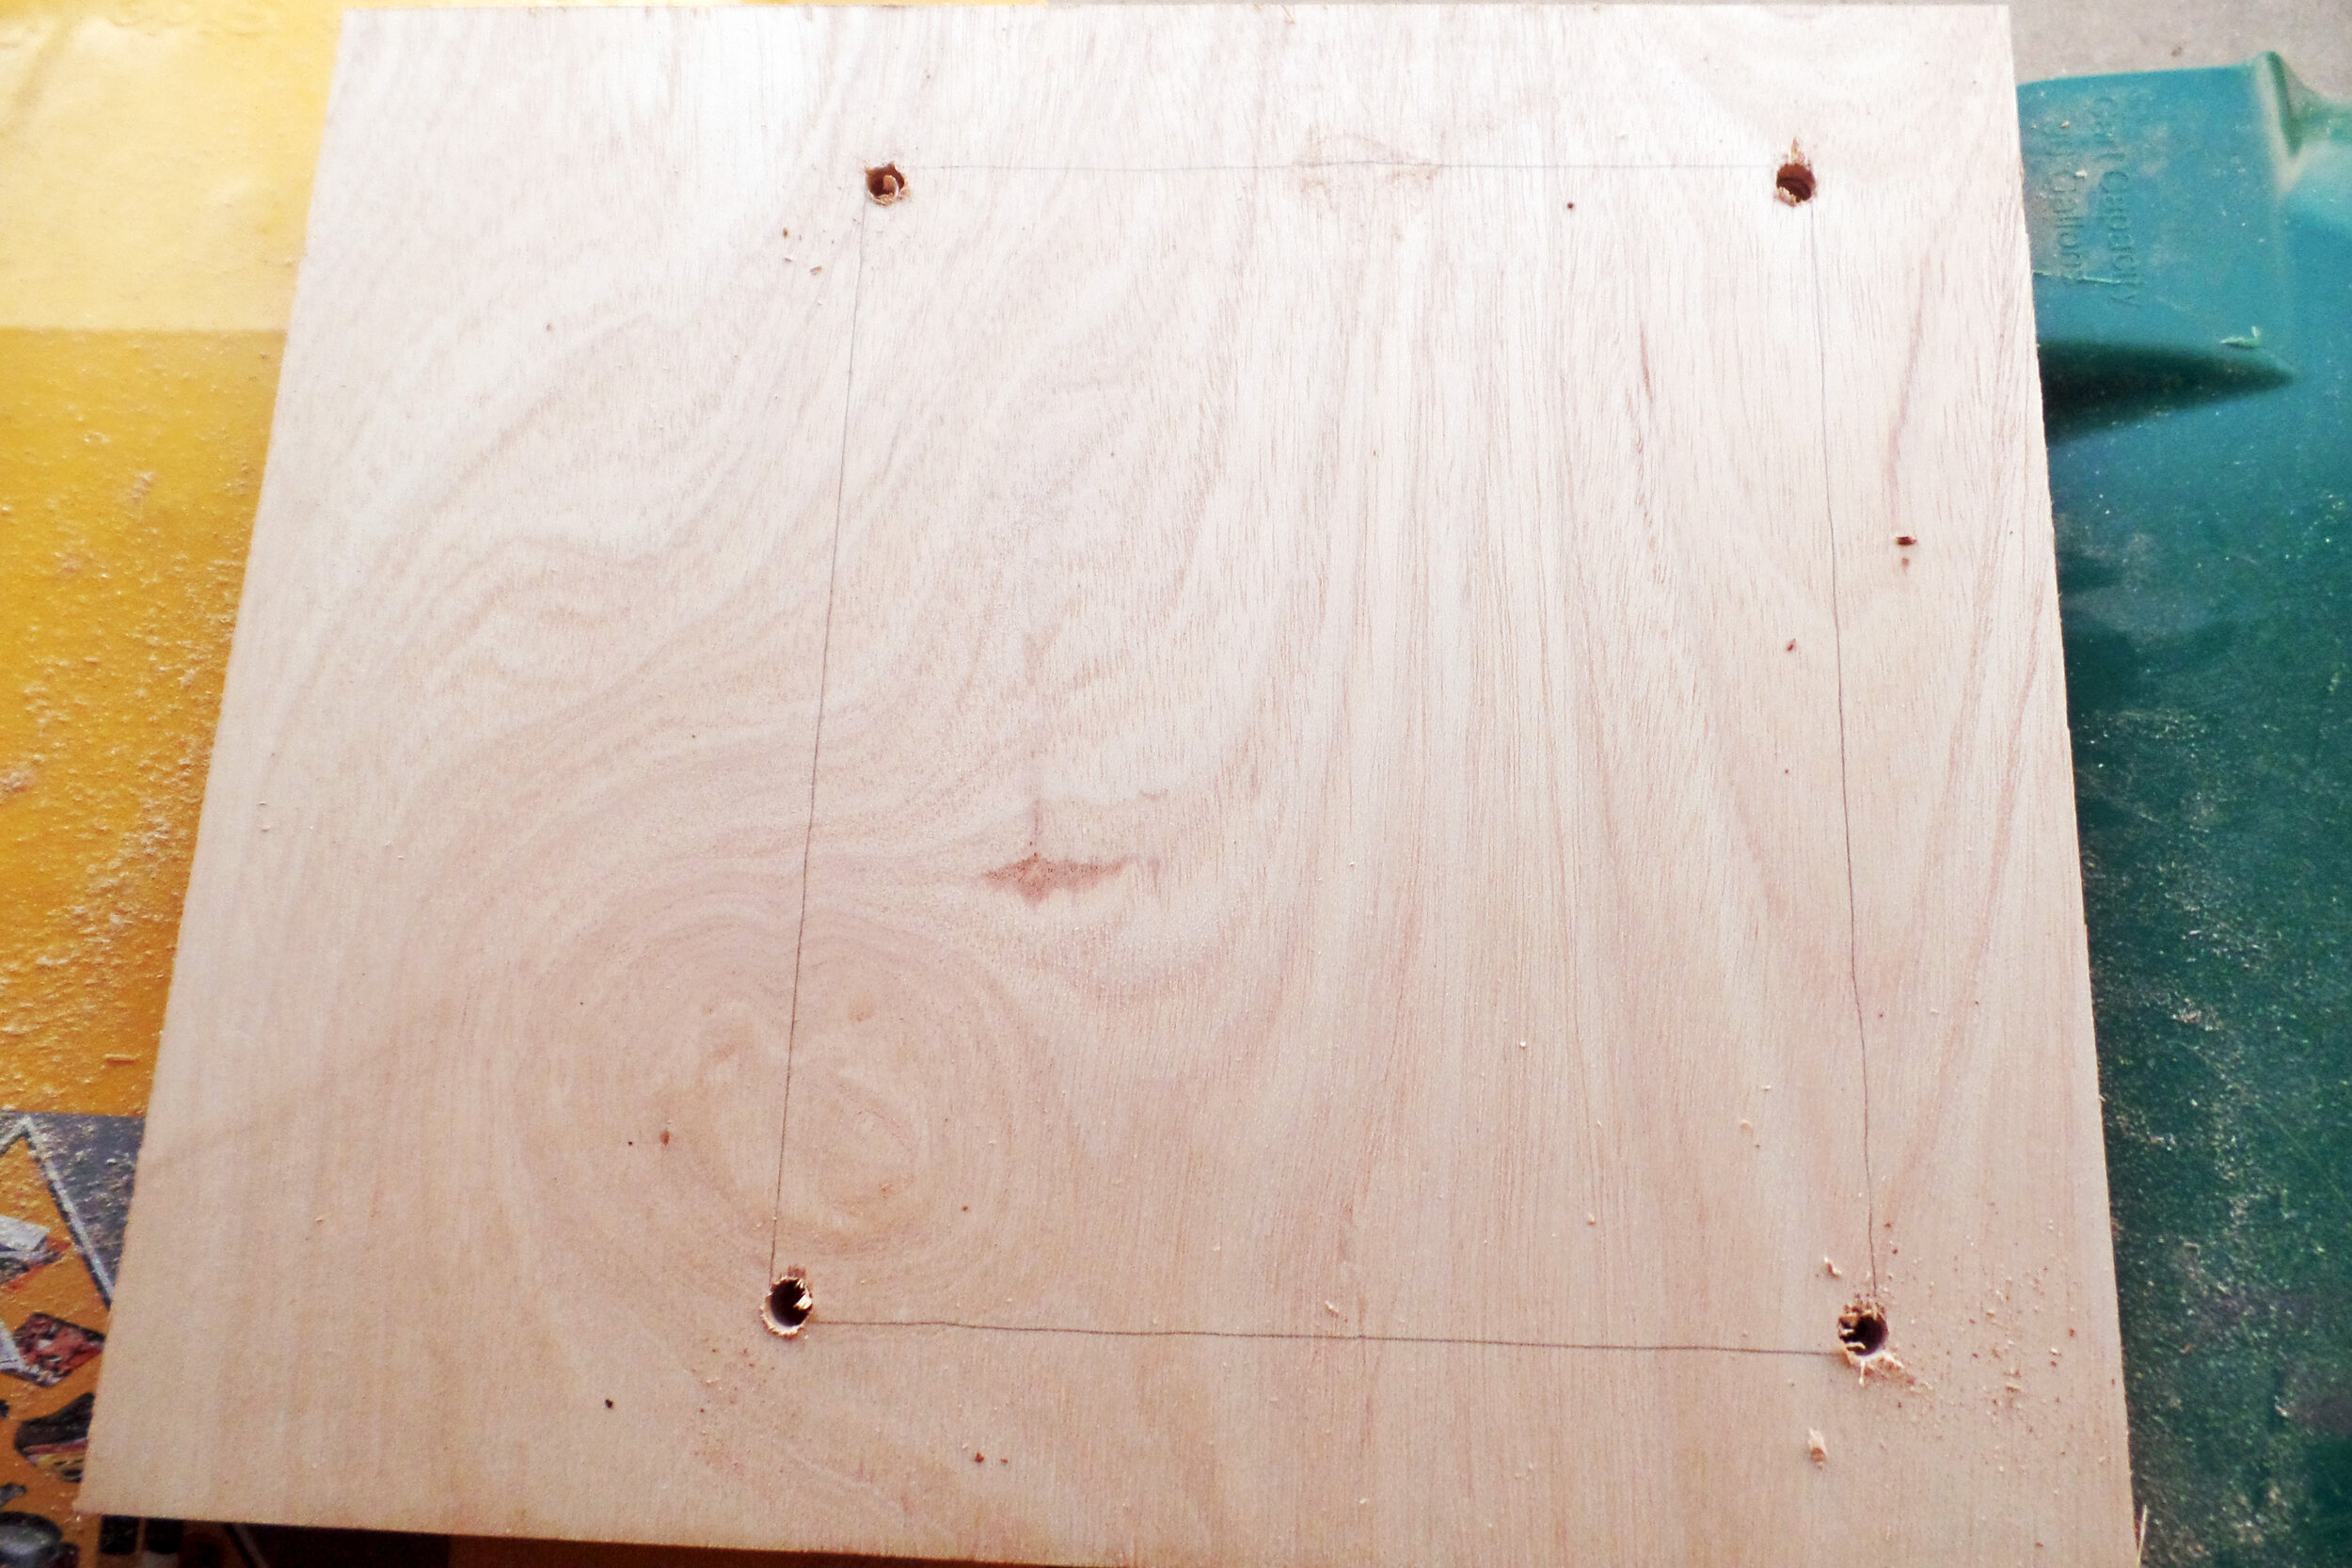
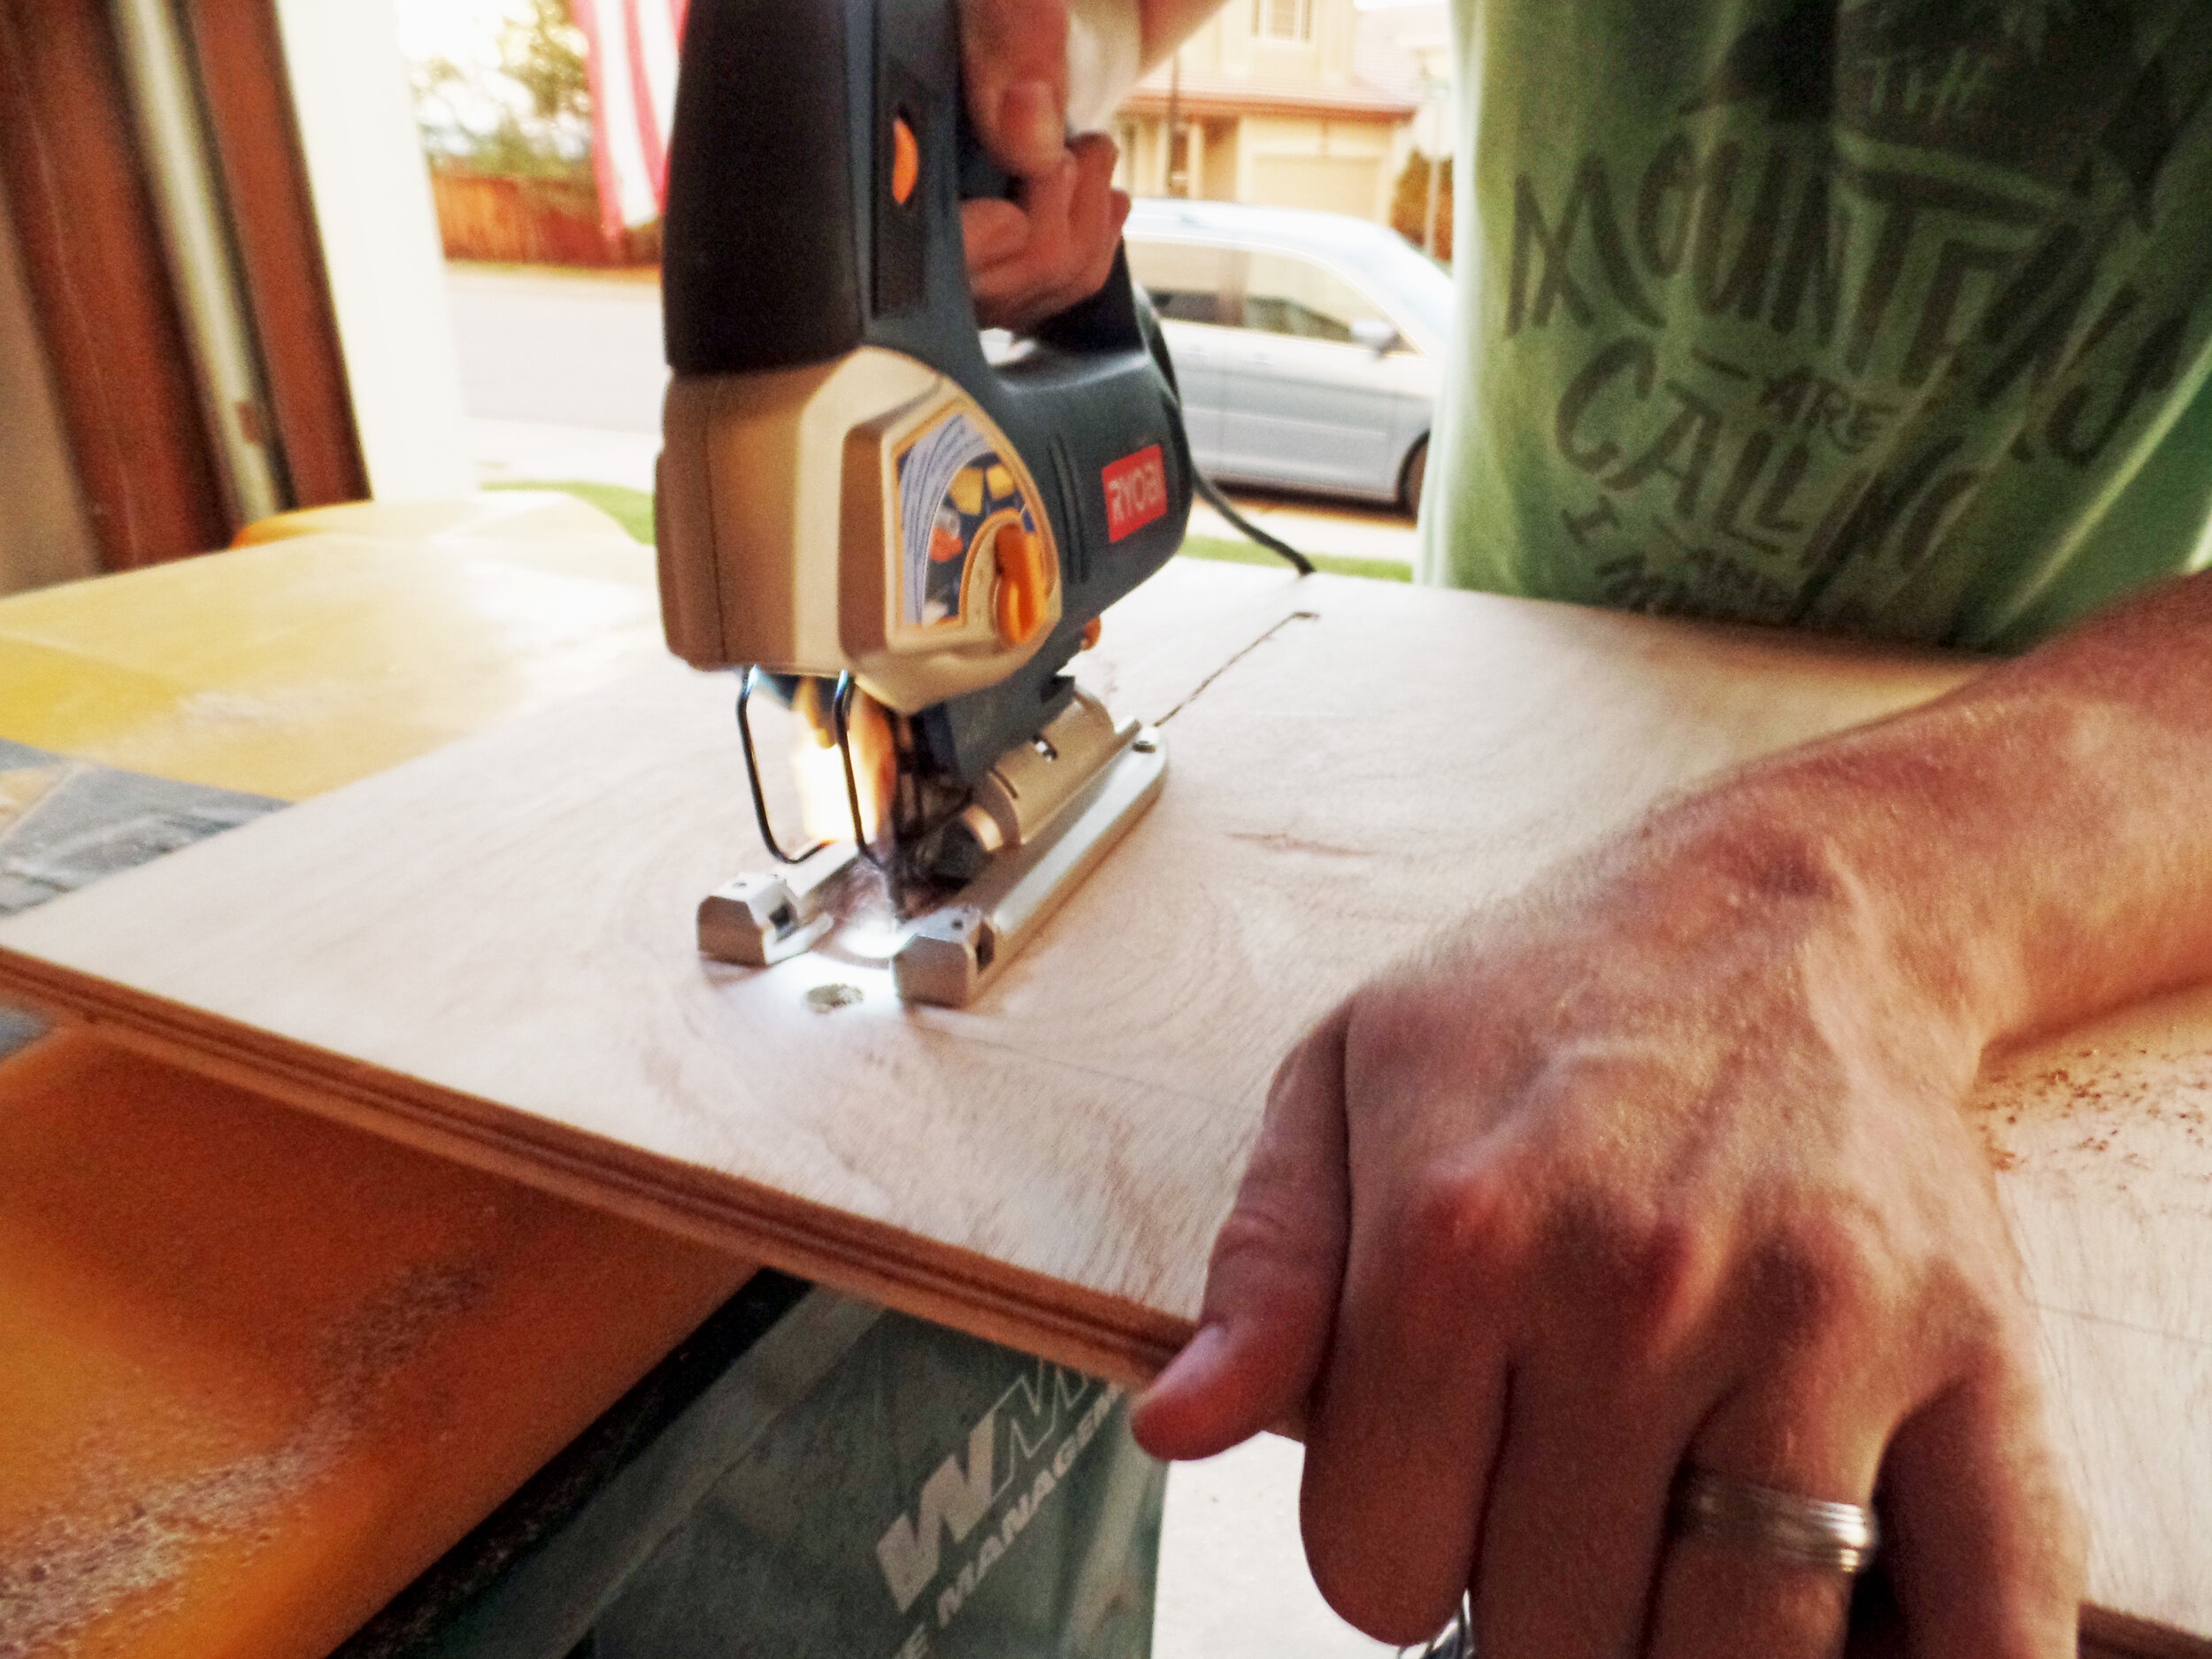
We also decided to move the faucet placement over to the left to give more counter space and line it up with the drain. After that, installation into the new countertops was easy. We used the old counter as a template. Plumbers putty and the original mounting hardware secured the sink and the faucet was simple to install.
Along with the new faucet we also replaced the drain, drain plug and hoses that were indefinitely in need of updating.

Here are some tips for installing a new residential-style water faucet and sink in a pop-up camper that we learned along the way:
Determine the specifications - Before purchasing the new faucet and sink, make sure they are compatible with your camper's plumbing system. Take note of the size, type, and location of the current sink and faucet, and make sure the new ones match.
Plan the placement - Consider the location of the sink and faucet in relation to the other fixtures in your camper. Decide where you want the new sink and faucet to be installed, and make sure there is enough room for them.
Prepare the surfaces - Clean the surfaces where the new sink and faucet will be installed. Make sure they are free from dirt, grease, and other debris that might affect the adhesion of the plumber's putty or sealant.
Install the sink - Use the old sink as a template to mark the location of the holes for the drain, faucet, and mounting hardware. Remove the old sink, and install the new one using plumber's putty and the original mounting hardware.
Install the faucet - Connect the new faucet to the plumbing system, and secure it to the sink with nuts and washers. Make sure the connections are tight and leak-free.
Test the system: -Turn on the water and check for leaks. If everything is working correctly, you can install the drain plug, hoses, and other components to complete the installation.
Clean up - After the installation is complete, clean up any debris or excess putty or sealant, and put away any tools and materials. Your new water faucet and sink are now ready for camping!
So the final verdict? We are more than happy to report the faucet works AMAZINGLY!! I couldn't be any happier with our decision. It is so much easier to wash dishes! When we're at campgrounds without water hookups we just revert back to our tent camping ways and I don't even miss a thing. This was a great decision.
If you’re curious about how we renovated any other parts of our 1999 Palomino pop-up camper please check out the links below or visit our main page here.
The BEST way to clean the canvas
Why we painted the furnace cover
Creating new blackout curtains
Creating a new nightlight and replacing outlets
And if you ever have any questions, please feel free to check out our FAQ to contact us or leave a comment below!

