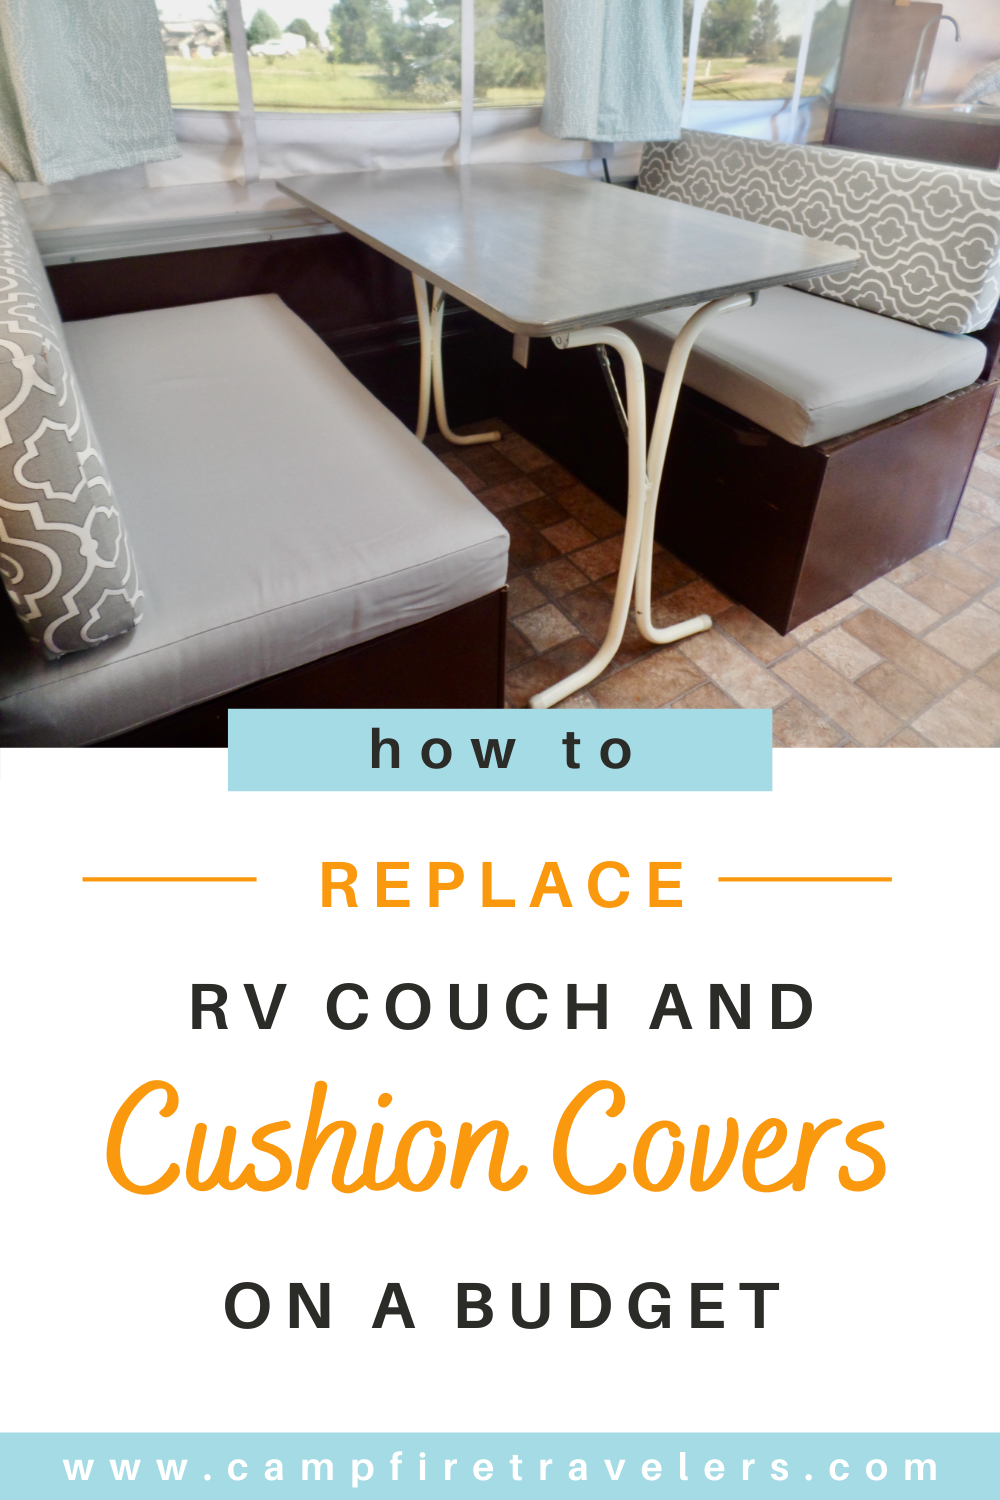
Step-by-Step Guide to Replacing Your RV Cushion Covers
Hi! Welcome to Campfire Travelers. Back in 2015, we transformed our little pop-up camper into a shining, clean, and updated home on wheels for less than $1000. We took what we learned and wanted to help others in their own DIY RV renovation. You can learn more here. And if you ever have any questions please feel free to contact us here.
Are you tired of your RV's outdated cushion covers? Look no further! In this DIY RV renovation project, we show you how to replace your cushion covers with a modern, stylish touch. Say goodbye to those floral or paint-splatter covers and hello to a fresh, new look. With the help of a sharp seam ripper, some fabric, and a sewing machine, you too can create beautiful new cushion covers that fit like a glove. Whether you're a seasoned sewer or just starting out, this project is simple and straightforward, requiring only straight lines. So why wait? Transform your RV today with some new cushion covers!
Do you see the end in sight for our DIY RV renovation? I know I do! Today we're talking about the fun stuff! Well, at least it's fun for me. We're talking about the fabric and cushions.
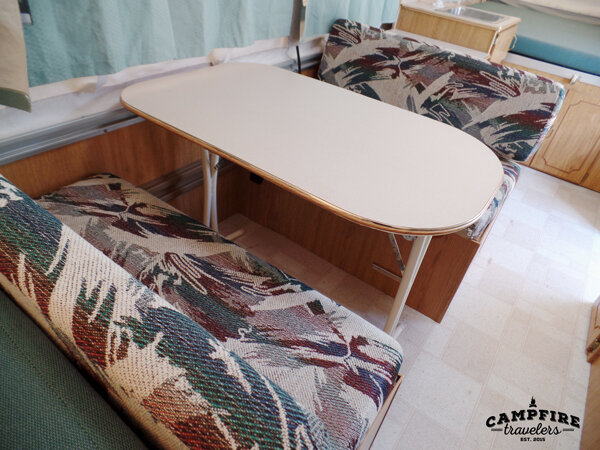
I hope you can understand that I did not love those 1999 paint-splatter cushion covers. Not to mention, they didn't quite go with the new life the pop-up was coming into.
Typically, we buy a lot of stuff online without issue. But for this fabric we wanted to be positive we loved it, especially with our super tight timeline for getting the pop-up finished by the Fourth of July. That means the stores in our area were the only options. I knew the fabric needed to hold up with the kids both in color and thickness. We kept with the gray colors because it will blend with dirty feet marks and stuck to duck cloth and/or canvas options including outdoor fabrics. Then we had to agree... that is not easy! The agreement came at Jo-Ann's Fabric on duck cloth.
We agreed this pattern should be the back cushion covers and then find a darker gray for the seats. Well, when you're time constrained and not interested in purchasing online you lose the ability to be picky. So we found a lighter gray for the seat covers. Not our first choice, but not a terrible second choice.

Re-creating the Covers
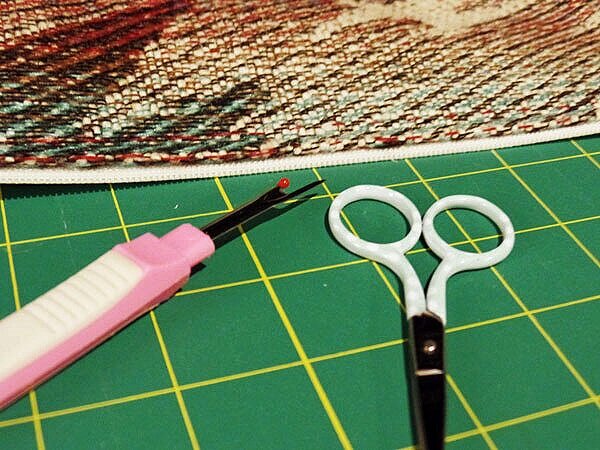
As I removed the old cushion covers I was happy to see the foam was still in good shape!! I took a mental note of the box-style cushion cover construction, took a few measurements, and decided I could recreate the same pattern. Luck was still on my side because lo and behold the zippers were also still in great shape!
I grabbed a sharp seam ripper and got started disassembling the zippers. The process was much easier than I expected and I was so happy to have zippers the exact length I needed without spending any extra money.
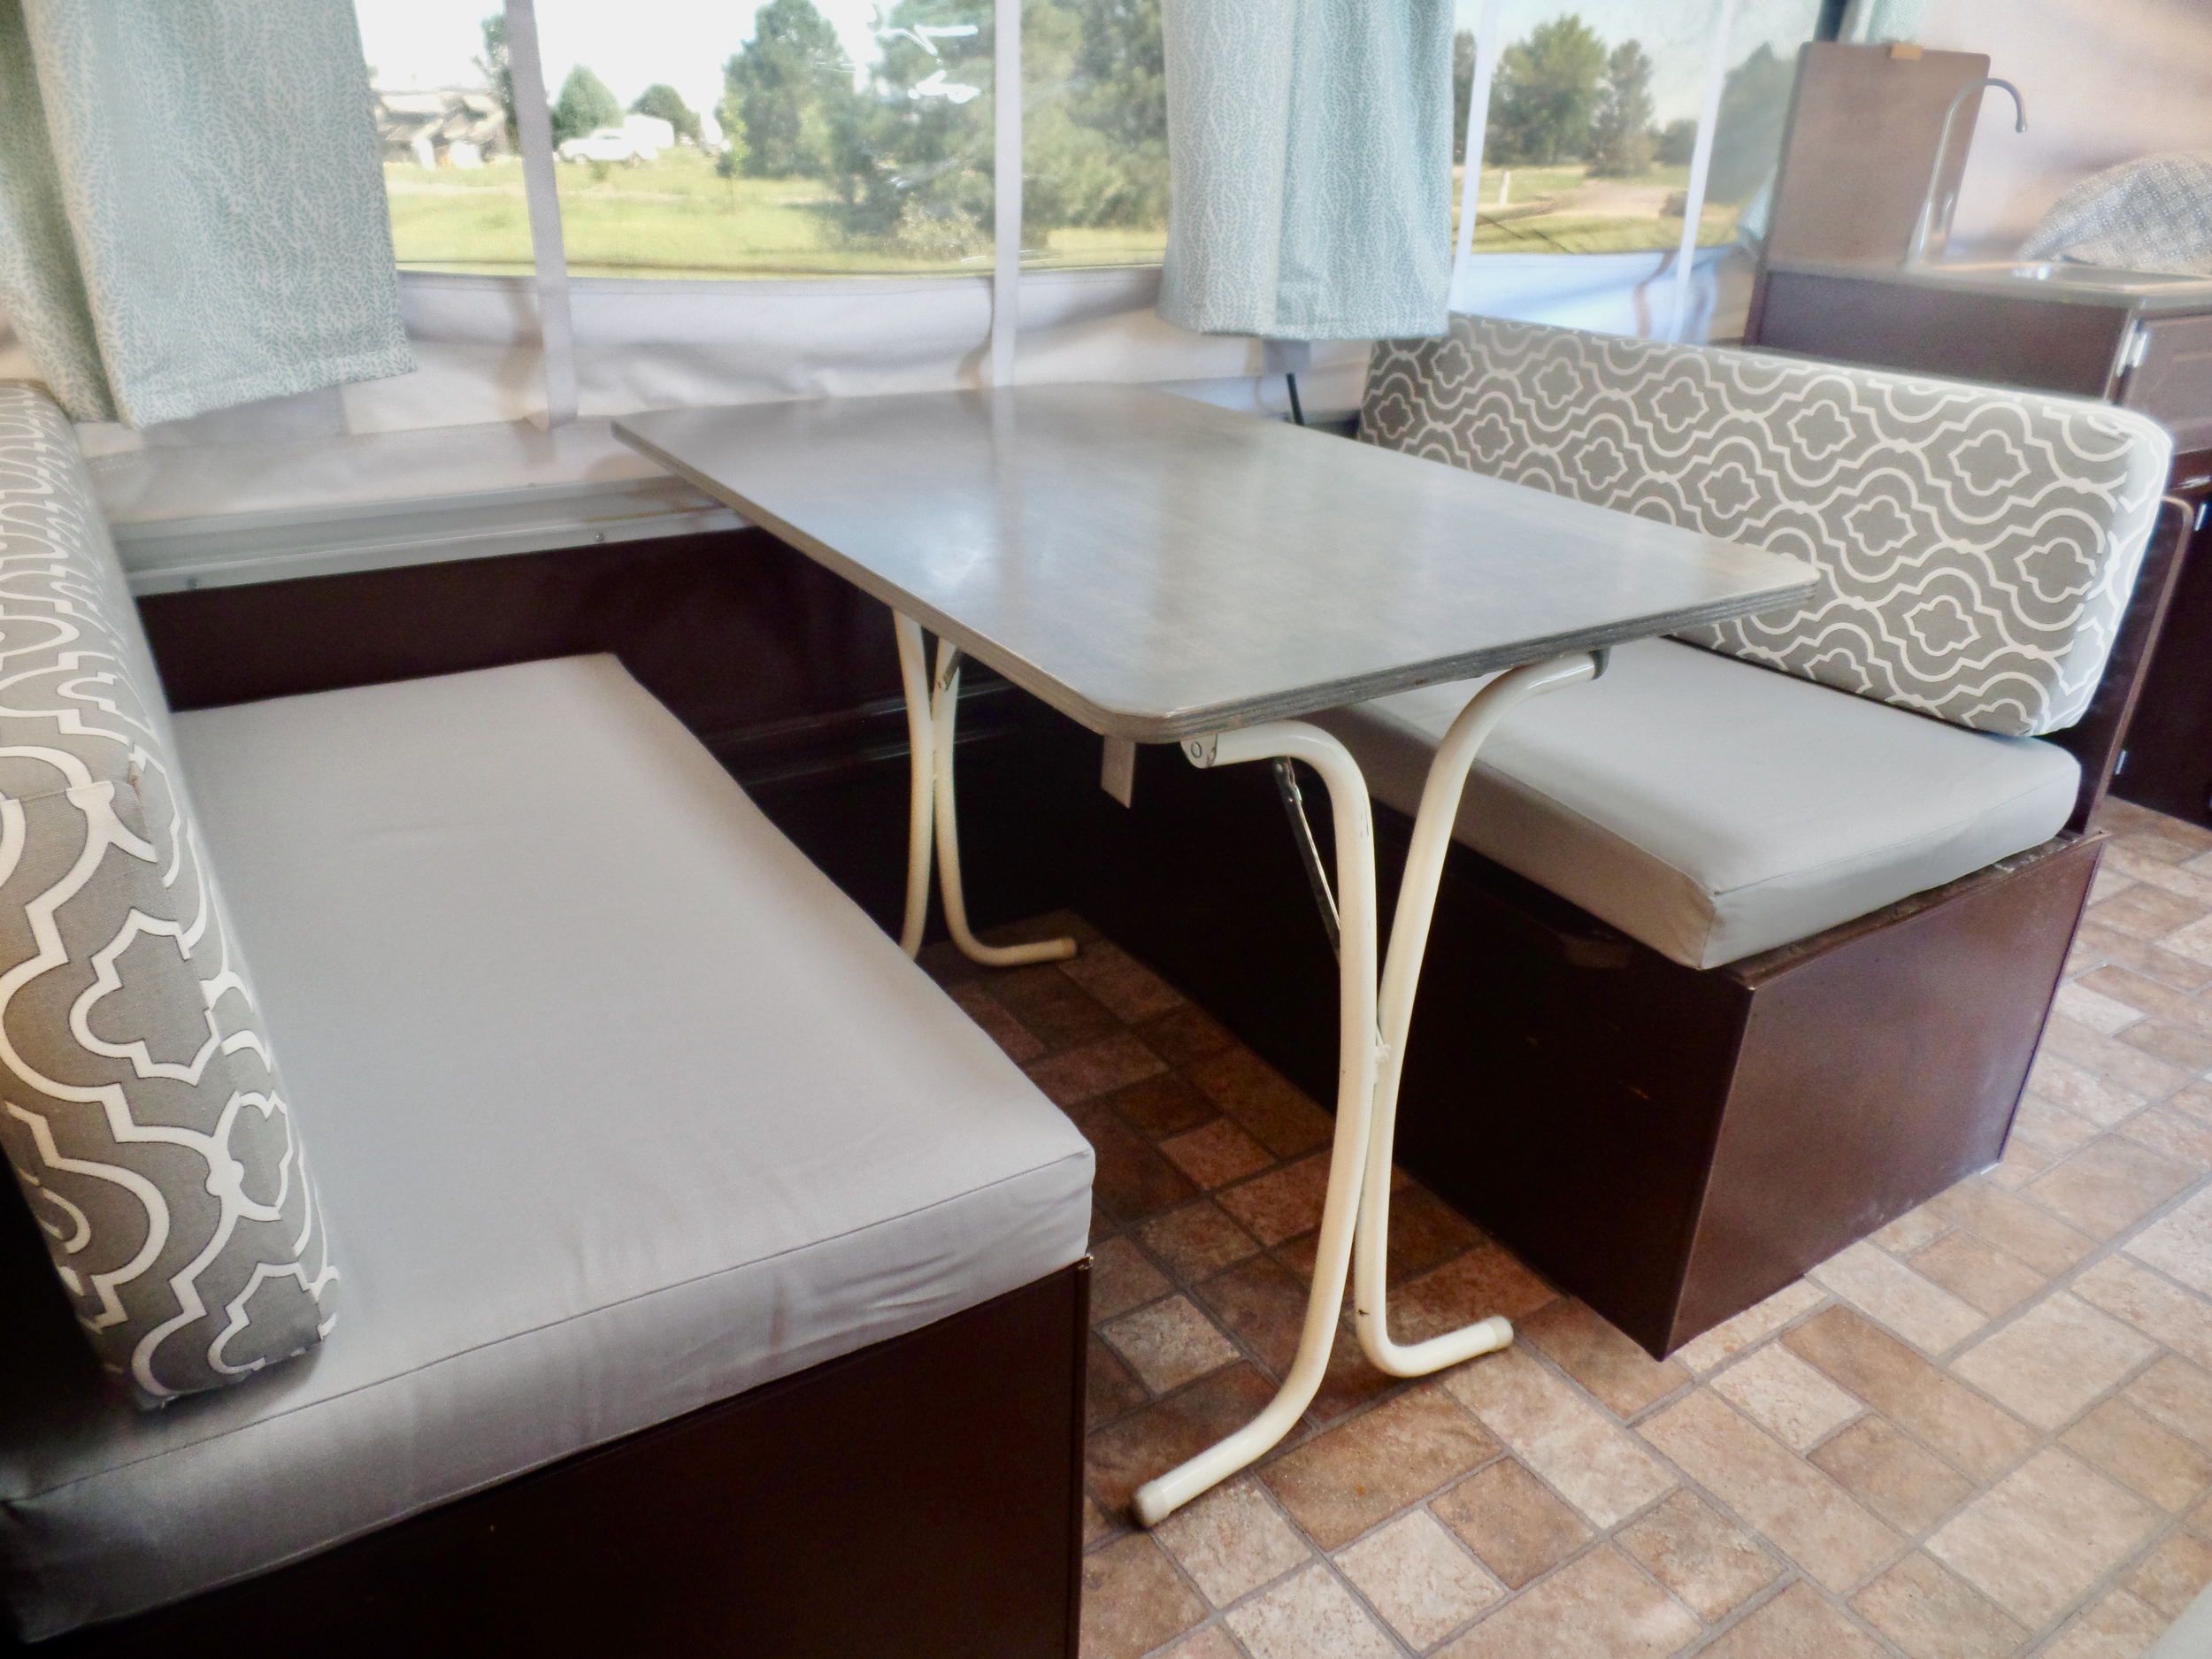
Once, I had ripped each cover apart and separated the zippers I used the old fabric as an exact template to create the new cover. (Note: when using this method, don’t forget to take note of the seam allowance.) Using my rotary cutter and mat to ensure smooth cuts I went one by one with each cover so as not to get them mixed up or confused. I did purchase a heavy-duty thread in a matching color as well as a heavy-duty sewing machine needle and I suggest you do so as well. In the end, it was as simple as using the old covers to create the new. And they fit like a glove!!
Again, the colors are not ideal. But they still look fantastic.
Now, if you're thinking you could never do this because you can't sew, do not count it out too quickly. These are all just straight lines. I promise a beginner can make box-style cushion covers!


Step-by-Step Guide for Sewing Box-Style Cushion Covers for RV Benches and Couches
Materials:
Fabric (Duck cloth or canvas)
Heavy-duty thread
Heavy-duty sewing machine needle
Ruler or measuring tape
Rotary cutter and mat
Sharp seam ripper
Old cushion covers (to use as a template)
Step 1: Gather Materials - Collect all the necessary materials for the project.
Step 2: Remove Old Covers - Carefully remove the old cushion covers. Use the seam ripper to take apart the covers until you have individual strips. Keep the zippers intact and set them aside.
Step 3: Measure Foam - Measure the foam cushions to get a guideline of the size of your new covers.
Step 4: Create a Pattern - Use the old cushion covers as a template to create a pattern for your new covers. Make sure to note the seam allowance.
Step 5: Cut Fabric - Using the rotary cutter and mat, cut the fabric to size based on your pattern.
Step 6: Sew Zipper - Sew the zippers onto one edge of the cover.
Step 7: Attach Fabric - Attach the two pieces of fabric together, with right sides facing each other, and sew along the sides.
Step 8: Turn Right Side Out - Turn the cover right side out and place it over the foam cushion.
Step 9: Zip Up - Zip up the cover and ensure it fits the cushion snugly.
Step 10: Finish Edges - Sew along the remaining edge to finish the cover.
Tips for Success:
Use heavy-duty thread and needle to ensure the cover lasts a long time.
Use a sharp seam ripper to avoid damaging the old cushion covers.
Make sure to note the seam allowance when creating the pattern.
Use a rotary cutter and mat for clean and precise cuts.
Consider the durability of the fabric you choose, such as duck cloth or canvas.
Use the old cushion covers as a template to ensure the correct size.
Zip up the cover to ensure a snug fit before finishing the edges.
With these tips and the step-by-step guide, you can easily create beautiful box-style cushion covers for your RV or Pop-Up Camper. Transform your RV's interior with a fresh, new look in no time!

If you’re curious about how we renovated any other parts of our 1999 Palomino pop-up camper please check out the links below or visit our main page here.
The BEST way to clean the canvas
Why we painted the furnace cover
Creating new blackout curtains
Creating a new nightlight and replacing outlets
And if you ever have any questions, please feel free to check out our FAQ to contact us or leave a comment below!