
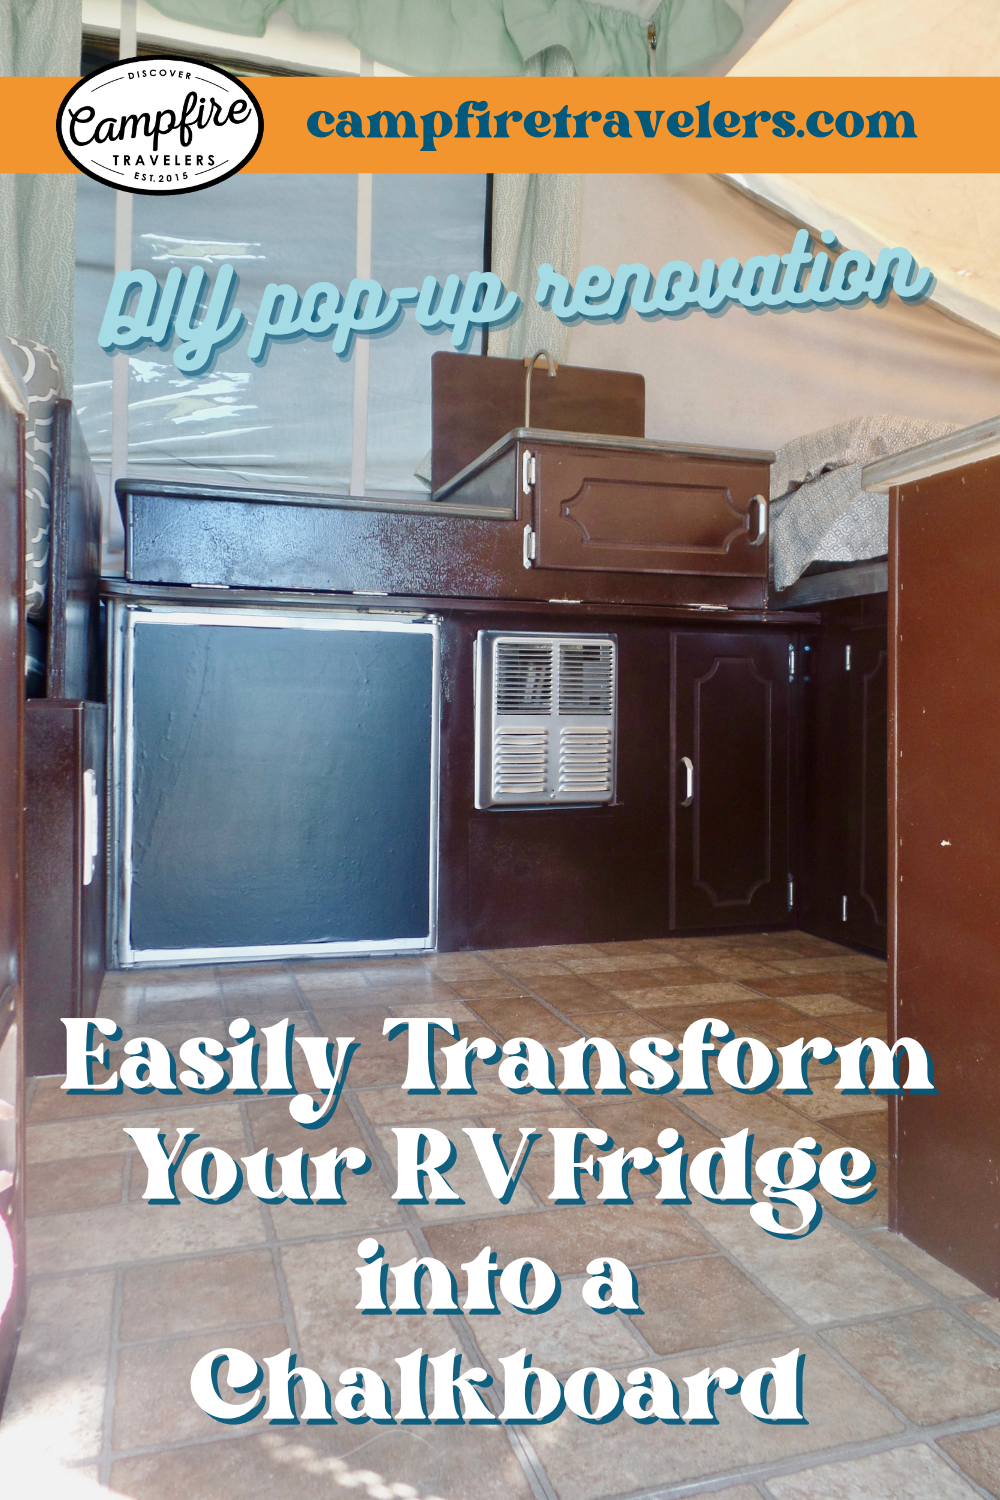
DIY RV Renovation: Easily Transform Your RV Fridge into a Chalkboard
Hi! Welcome to Campfire Travelers. Back in 2015, we transformed our little pop-up camper into a shining, clean, and updated home on wheels for less than $1000. We took what we learned and wanted to help others in their own DIY RV renovation. You can learn more here. And if you ever have any questions please feel free to contact us here.
If you're the proud owner of an older pop-up camper, you know the struggle of keeping everything organized and aesthetically pleasing while on the road. One easy way to add a touch of personality to your camper is by turning your RV fridge into a chalkboard. In this post, we'll show you how to use Con-Tact paper and a few other materials to transform your boring RV fridge into a functional and stylish chalkboard easily. Whether you're a seasoned camper or a beginner, this simple project will bring new life to your RV kitchen.
FIRST - what went wrong!
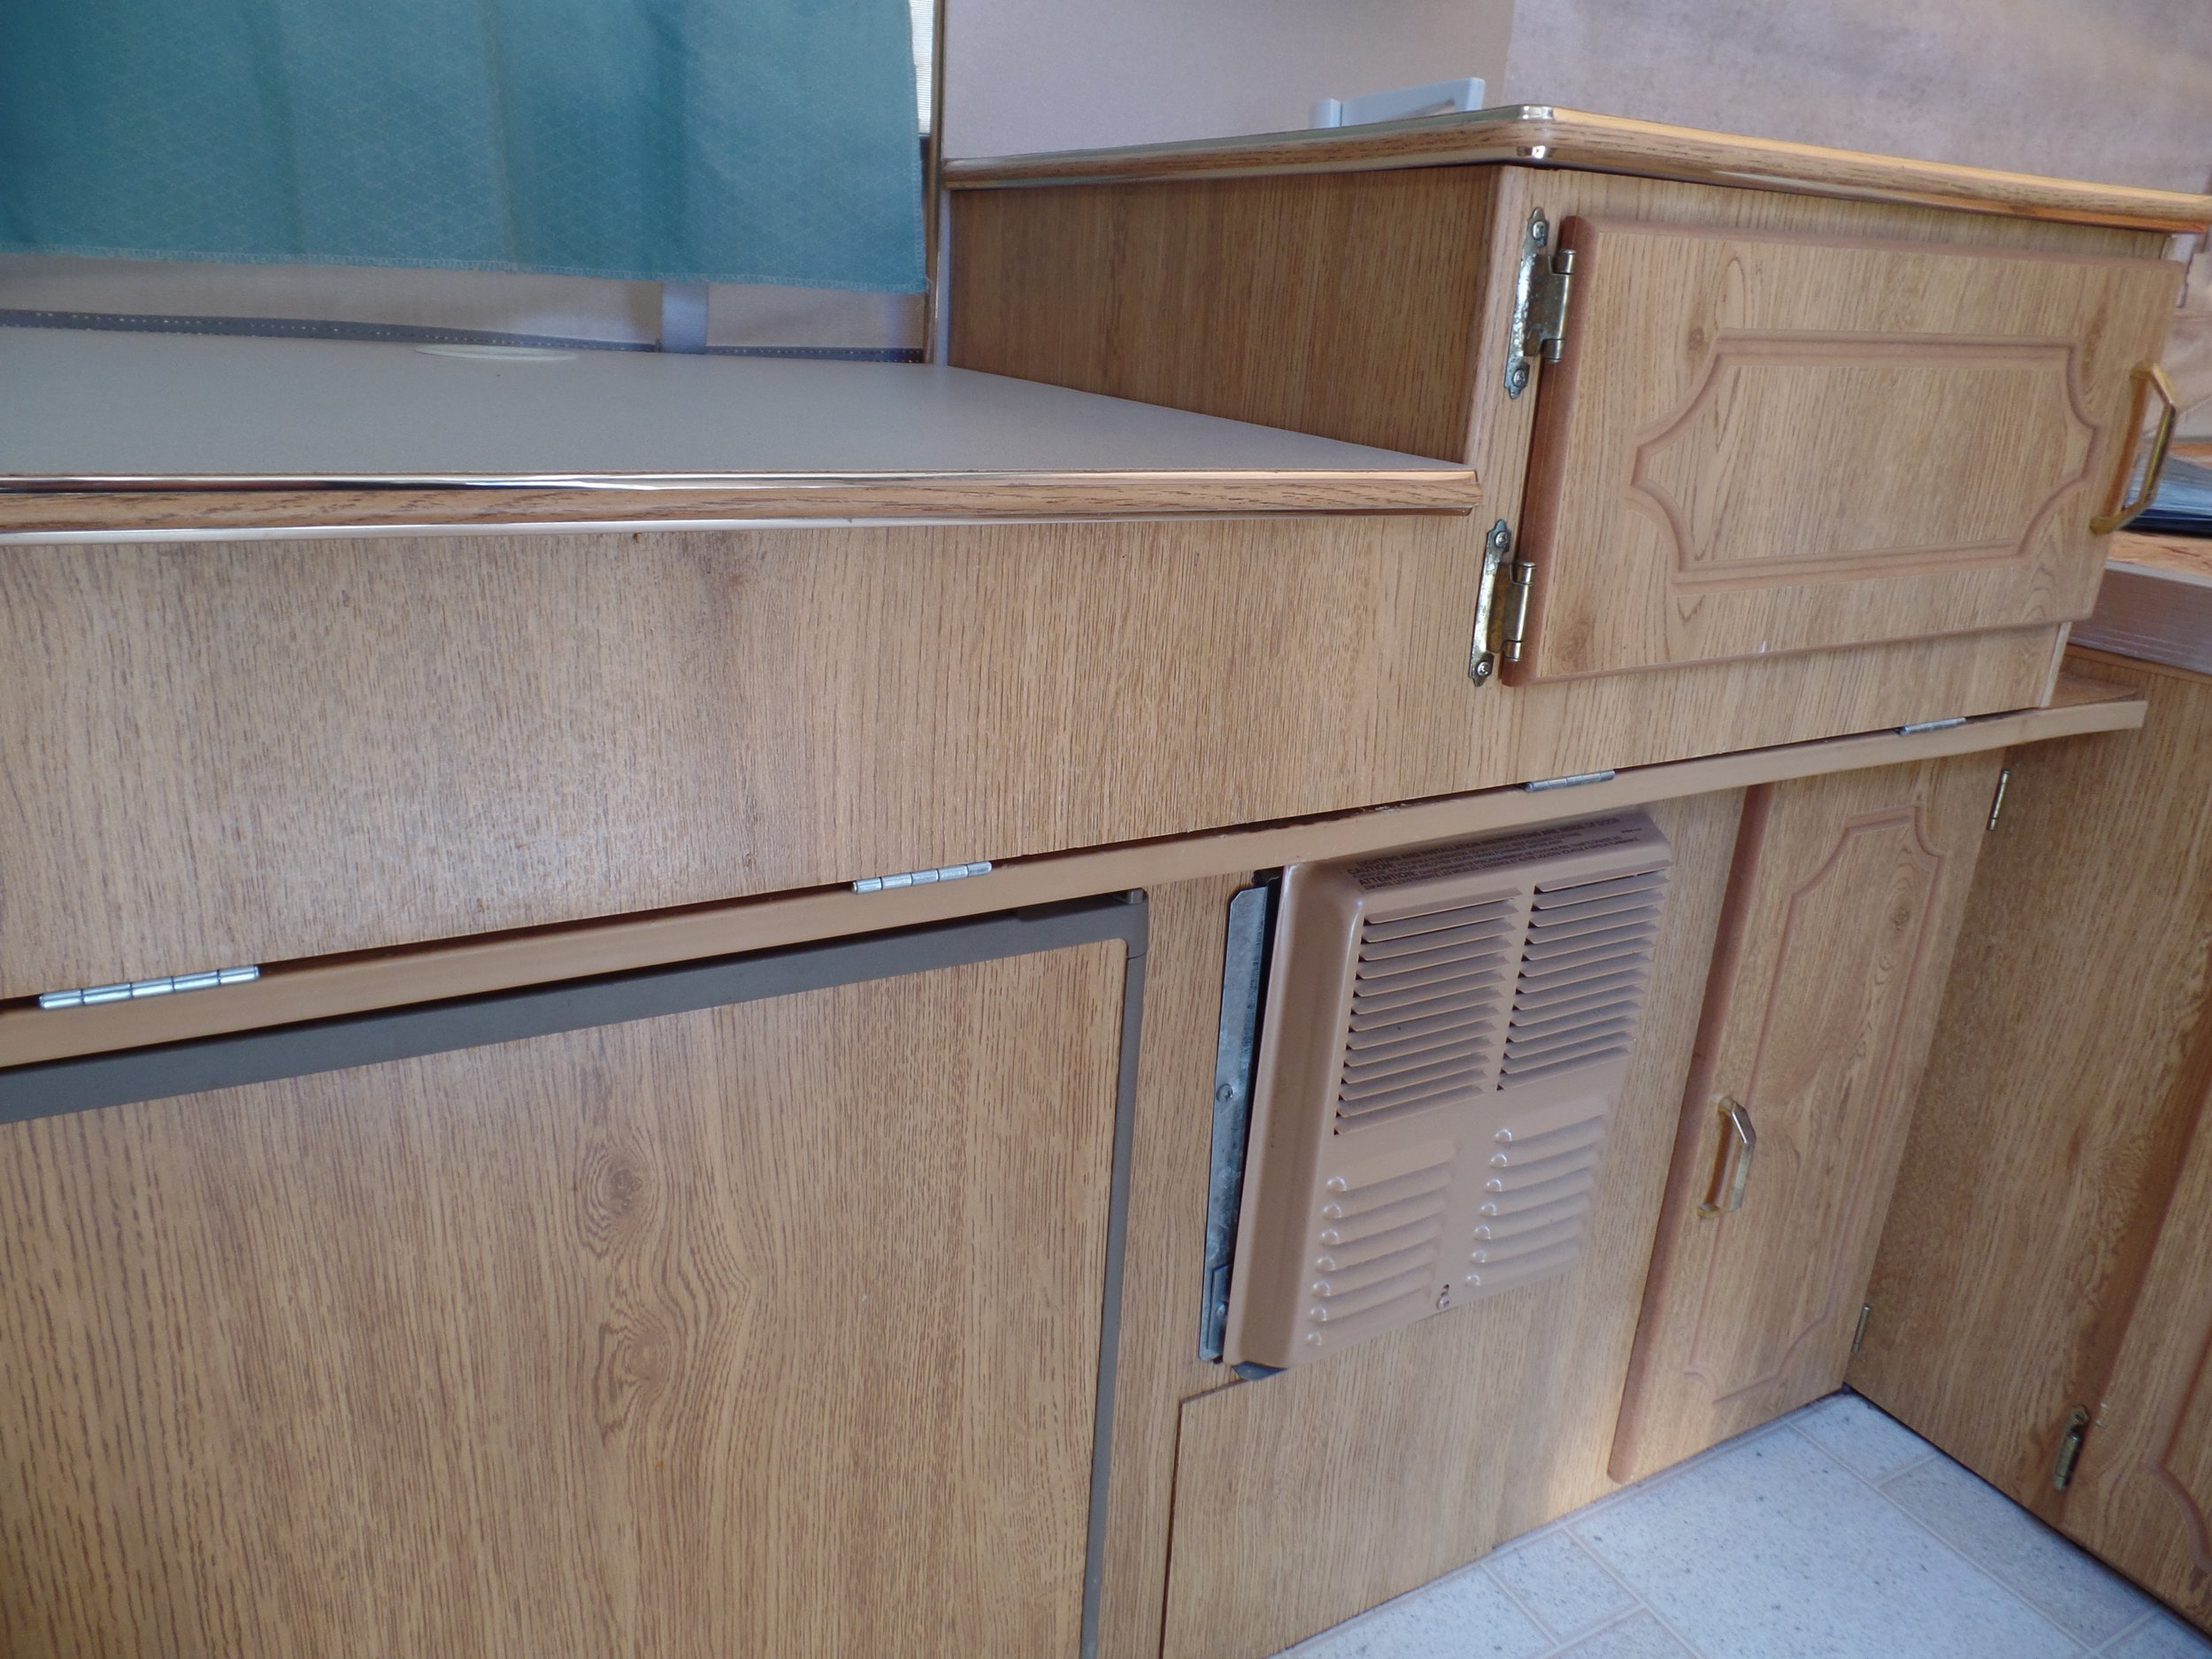
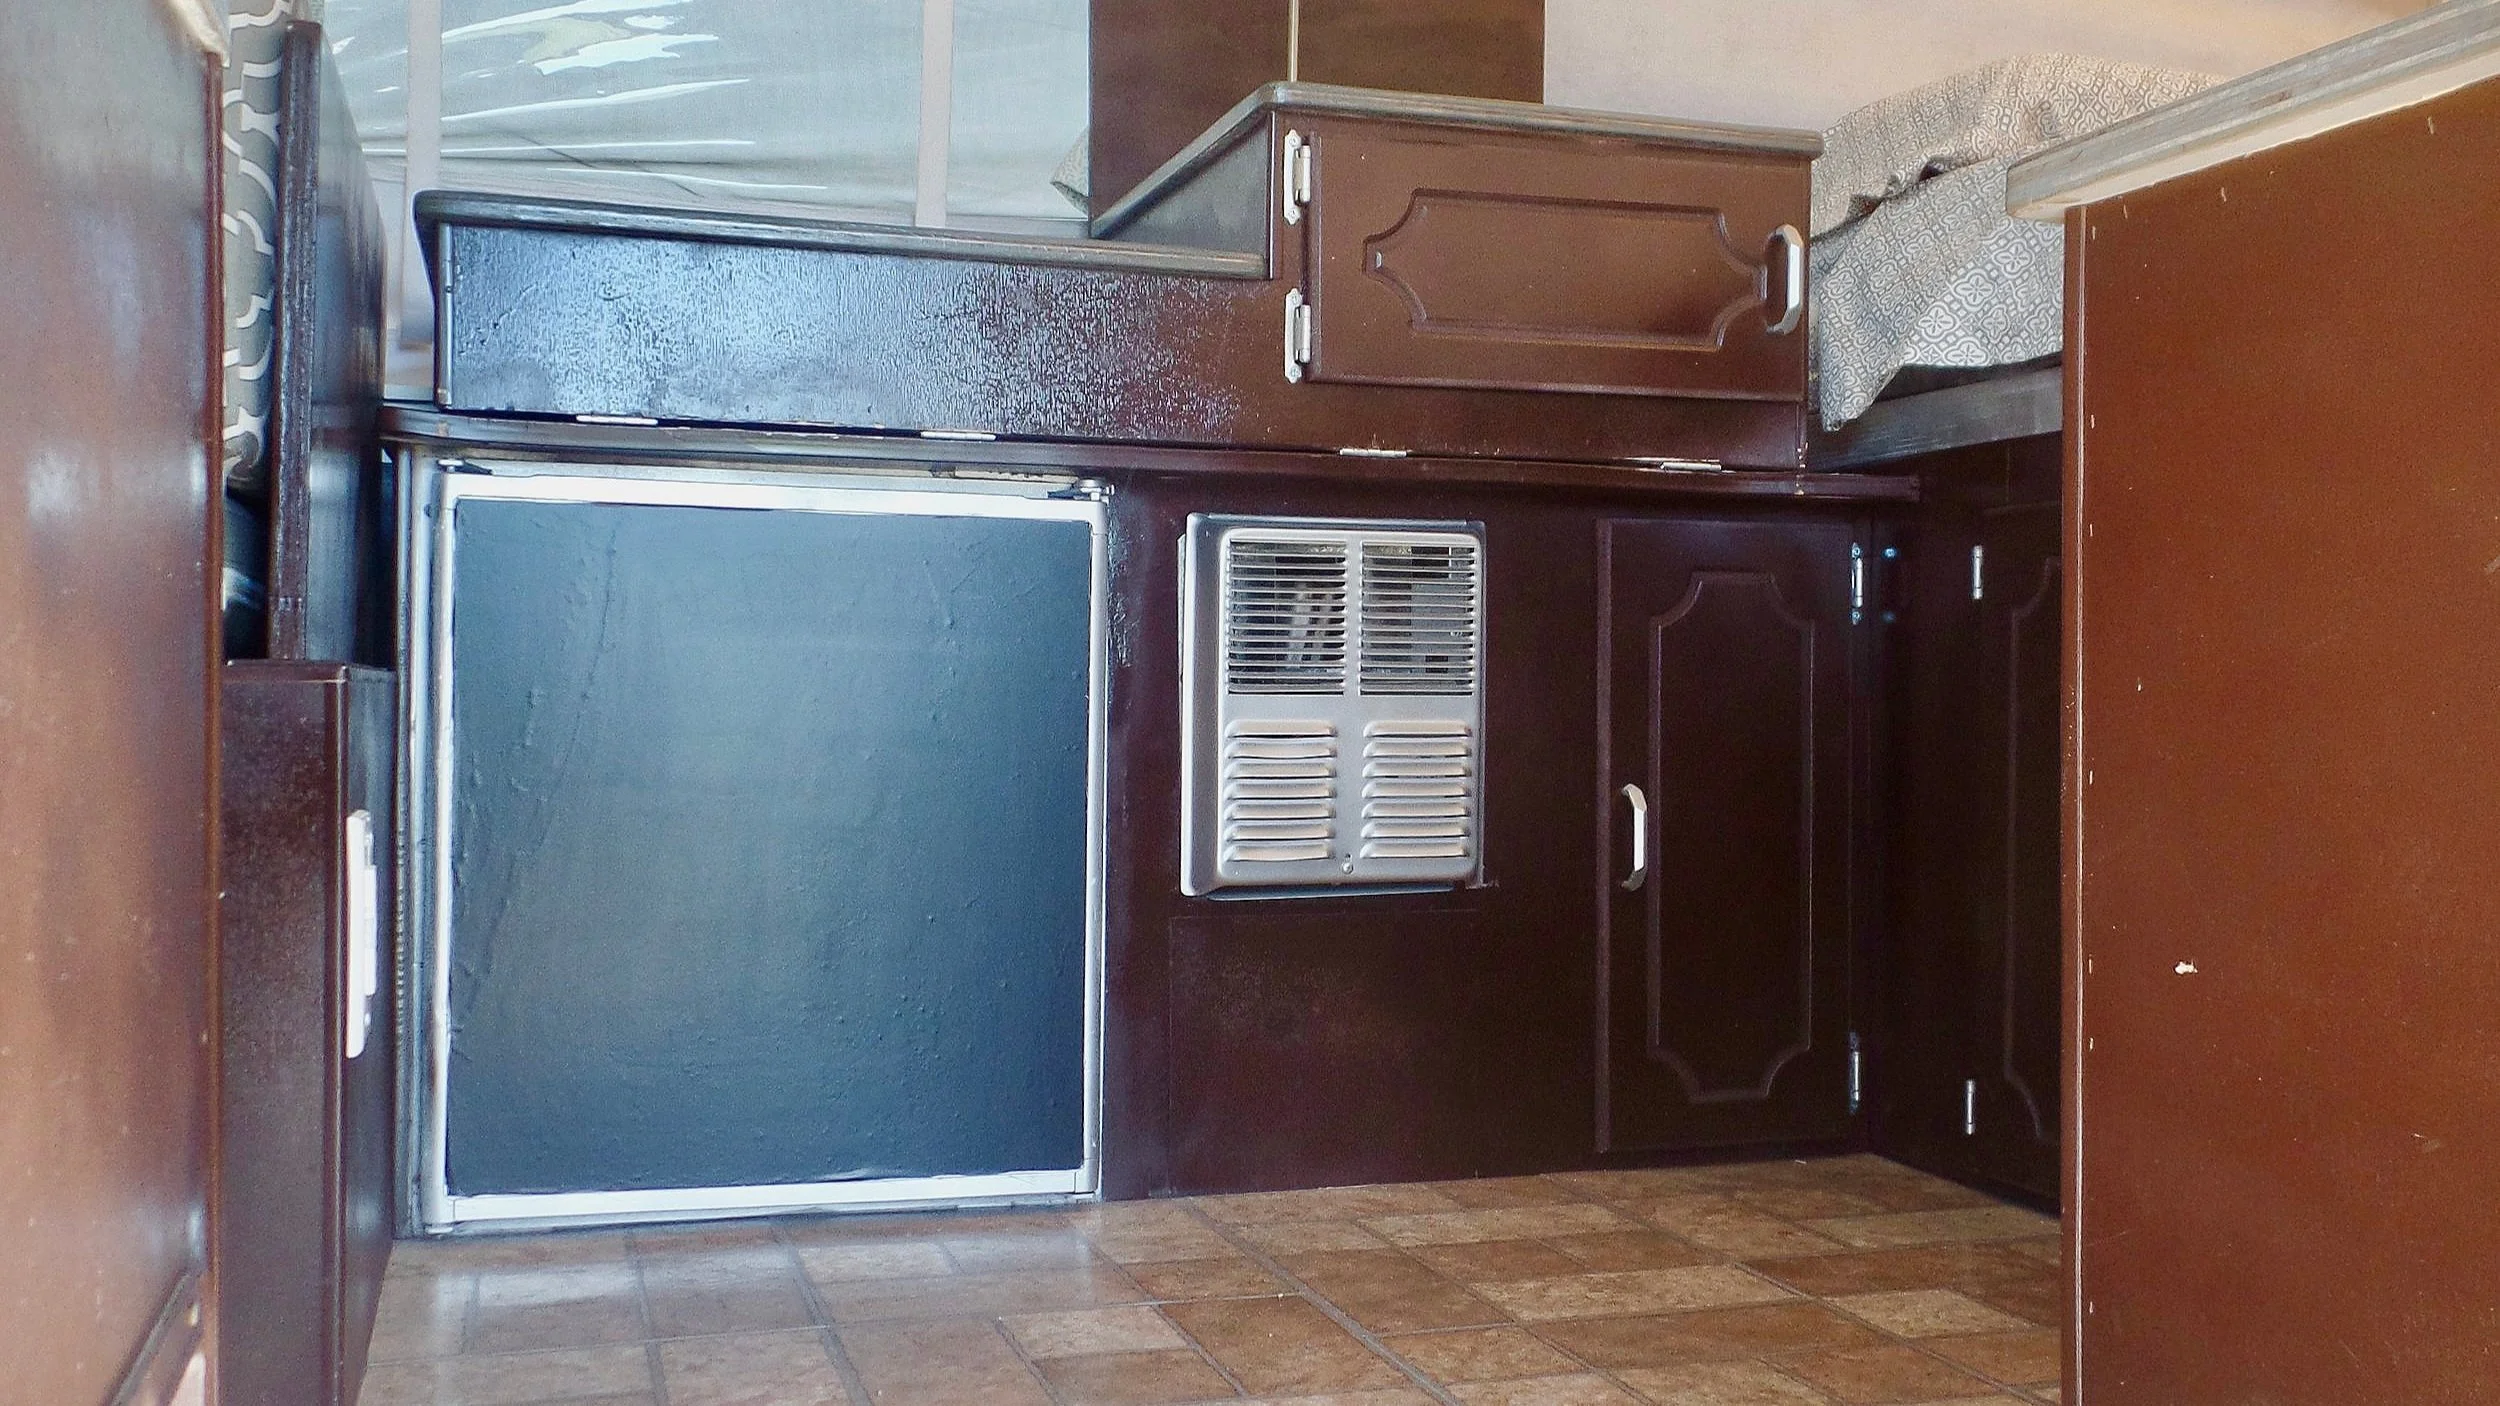
Next on our list was tackling the ugly RV fridge. Though pop-up camper fridges aren't the greatest, this one still worked well and served a purpose. Sadly, there was no need to replace it. So we decided to just go ahead and paint it along with everything else. Unfortunately, I couldn't get the darn thing out of the cabinet no matter what I tried - I was wasting the little amount of time we had. I gave up and decided to paint the fridge while it was still in its cabinet home.
After protecting the surrounding surfaces, I grabbed my trusty silver spray paint and imagined a lovely "stainless steel" look once I was done. Let me tell you friends, that did NOT happen. Before I knew it, there was bubbling, streaking, running, and maybe a few grown-up words. I tried! I tried really hard. I Googled how to fix this! I sanded and scraped and well... I apologized to my understanding husband for completely screwing up the once better-looking fridge. It was so bad I didn't even take a picture!
SECOND - brainstorming
The rest of the day I sat brainstorming solutions. Buying a new fridge still wasn't an option even though I begged. I had to fix the ugly. More paint was not the answer. The texture wasn't the answer. Then it dawned on me! The Pop-Up Princess had turned her fridge into an ADORABLE chalkboard. I could do the same!
Just as the fear of more paint started to creep up on me I remembered seeing chalkboard Con-Tact paper once! I seriously LOVE Con-Tact paper. WOOHOO! Amazon to the rescue! The 18" height fits perfectly and all I needed was a little more patience and a box cutter.
2023 Update: there are so many options for adhesive chalkboard paper now that didn’t exist in 2015 - HERE are a few examples. However, this is the original Con-Tact Brand we used in our camper.
THIRD - “fixing it”
Installing self-adhesive contact paper to our fridge was a quick and easy project that helped us fix our mistakes and can easily transform your fridge into a stylish and functional chalkboard.
Here are the steps to install self-adhesive contact paper to a fridge:
Clean the fridge: Start by thoroughly cleaning the surface of the fridge, making sure it's free of dust and grease. This will ensure that the contact paper sticks properly.
Cut the contact paper: Measure the surface area of the fridge where you want to apply the contact paper and cut the contact paper to size. If the fridge has curves or corners, add an extra inch or two to the contact paper to allow for some trimming.
Peel the backing paper: Once you have cut the contact paper to size, slowly peel off the backing paper while sticking the contact paper to the fridge.
Smooth out air bubbles: Start at one end of the contact paper and smooth it out, working your way to the other end. Use a credit card or a similar object to smooth out any air bubbles as you go.
Trim the edges: If there are any excess pieces of contact paper at the edges, use a craft knife, box cutter, or scissors to trim it down to size.
Finish: Once the contact paper is installed, you can use chalk to write messages, draw pictures, or keep track of what's in the fridge.
That's it! Installing self-adhesive contact paper to your fridge is an easy and affordable way to add a touch of personality to your RV kitchen.
FOURTH - assessment
I'll be honest - does it look perfect? NO!! Does it look 1,000 times better than the horrible silver paint disaster? YES!! In most lighting, you can see the horrible indent on the left side of my painting issues.
But when I stand on one leg with both eyes squinted at night. It looks PERFECT and it makes me happy. I'm even learning to draw some super cute pictures on it for the kids. And seriously, they LOVE it! And seriously, my husband just looks at me like let's not do that again! And I totally agree with him!
So friends - if you decide to spray paint your RV fridge - here's how to not make the same mistakes I did:
Buy a new fridge! Just kidding!
Deal with the ugly fridge
Take your time while spray painting
Start with a good primer first - my fridge did not have a good coat of primer before I started
Thin, even layers of spray paint
If it all possible, work on a flat horizontal surface
TAKE YOUR TIME!!
Now that the fridge disaster was sidelined, I was able to calm down a little and focus my attention on the flooring. I am so sick of spray paint that it may take a while before I pick up another can!
If you’re curious about how we renovated any other parts of our 1999 Palomino pop-up camper please check out the links below or visit our main page here.
The BEST way to clean the canvas
Why we painted the furnace cover
Creating new blackout curtains
Creating a new nightlight and replacing outlets
And if you ever have any questions, please feel free to check out our FAQ to contact us or leave a comment below!

SAVE this for later!
PIN this for later!

