
DIY RV Renovation: How We Installed a Nightlight Electrical Outlet in a Pop-Up Camper
Hi! Welcome to Campfire Travelers. Back in 2015, we transformed our little pop-up camper into a shining, clean, and updated home on wheels for less than $1000. We took what we learned and wanted to help others in their own DIY RV renovation. You can learn more here. And if you ever have any questions please feel free to contact us here.
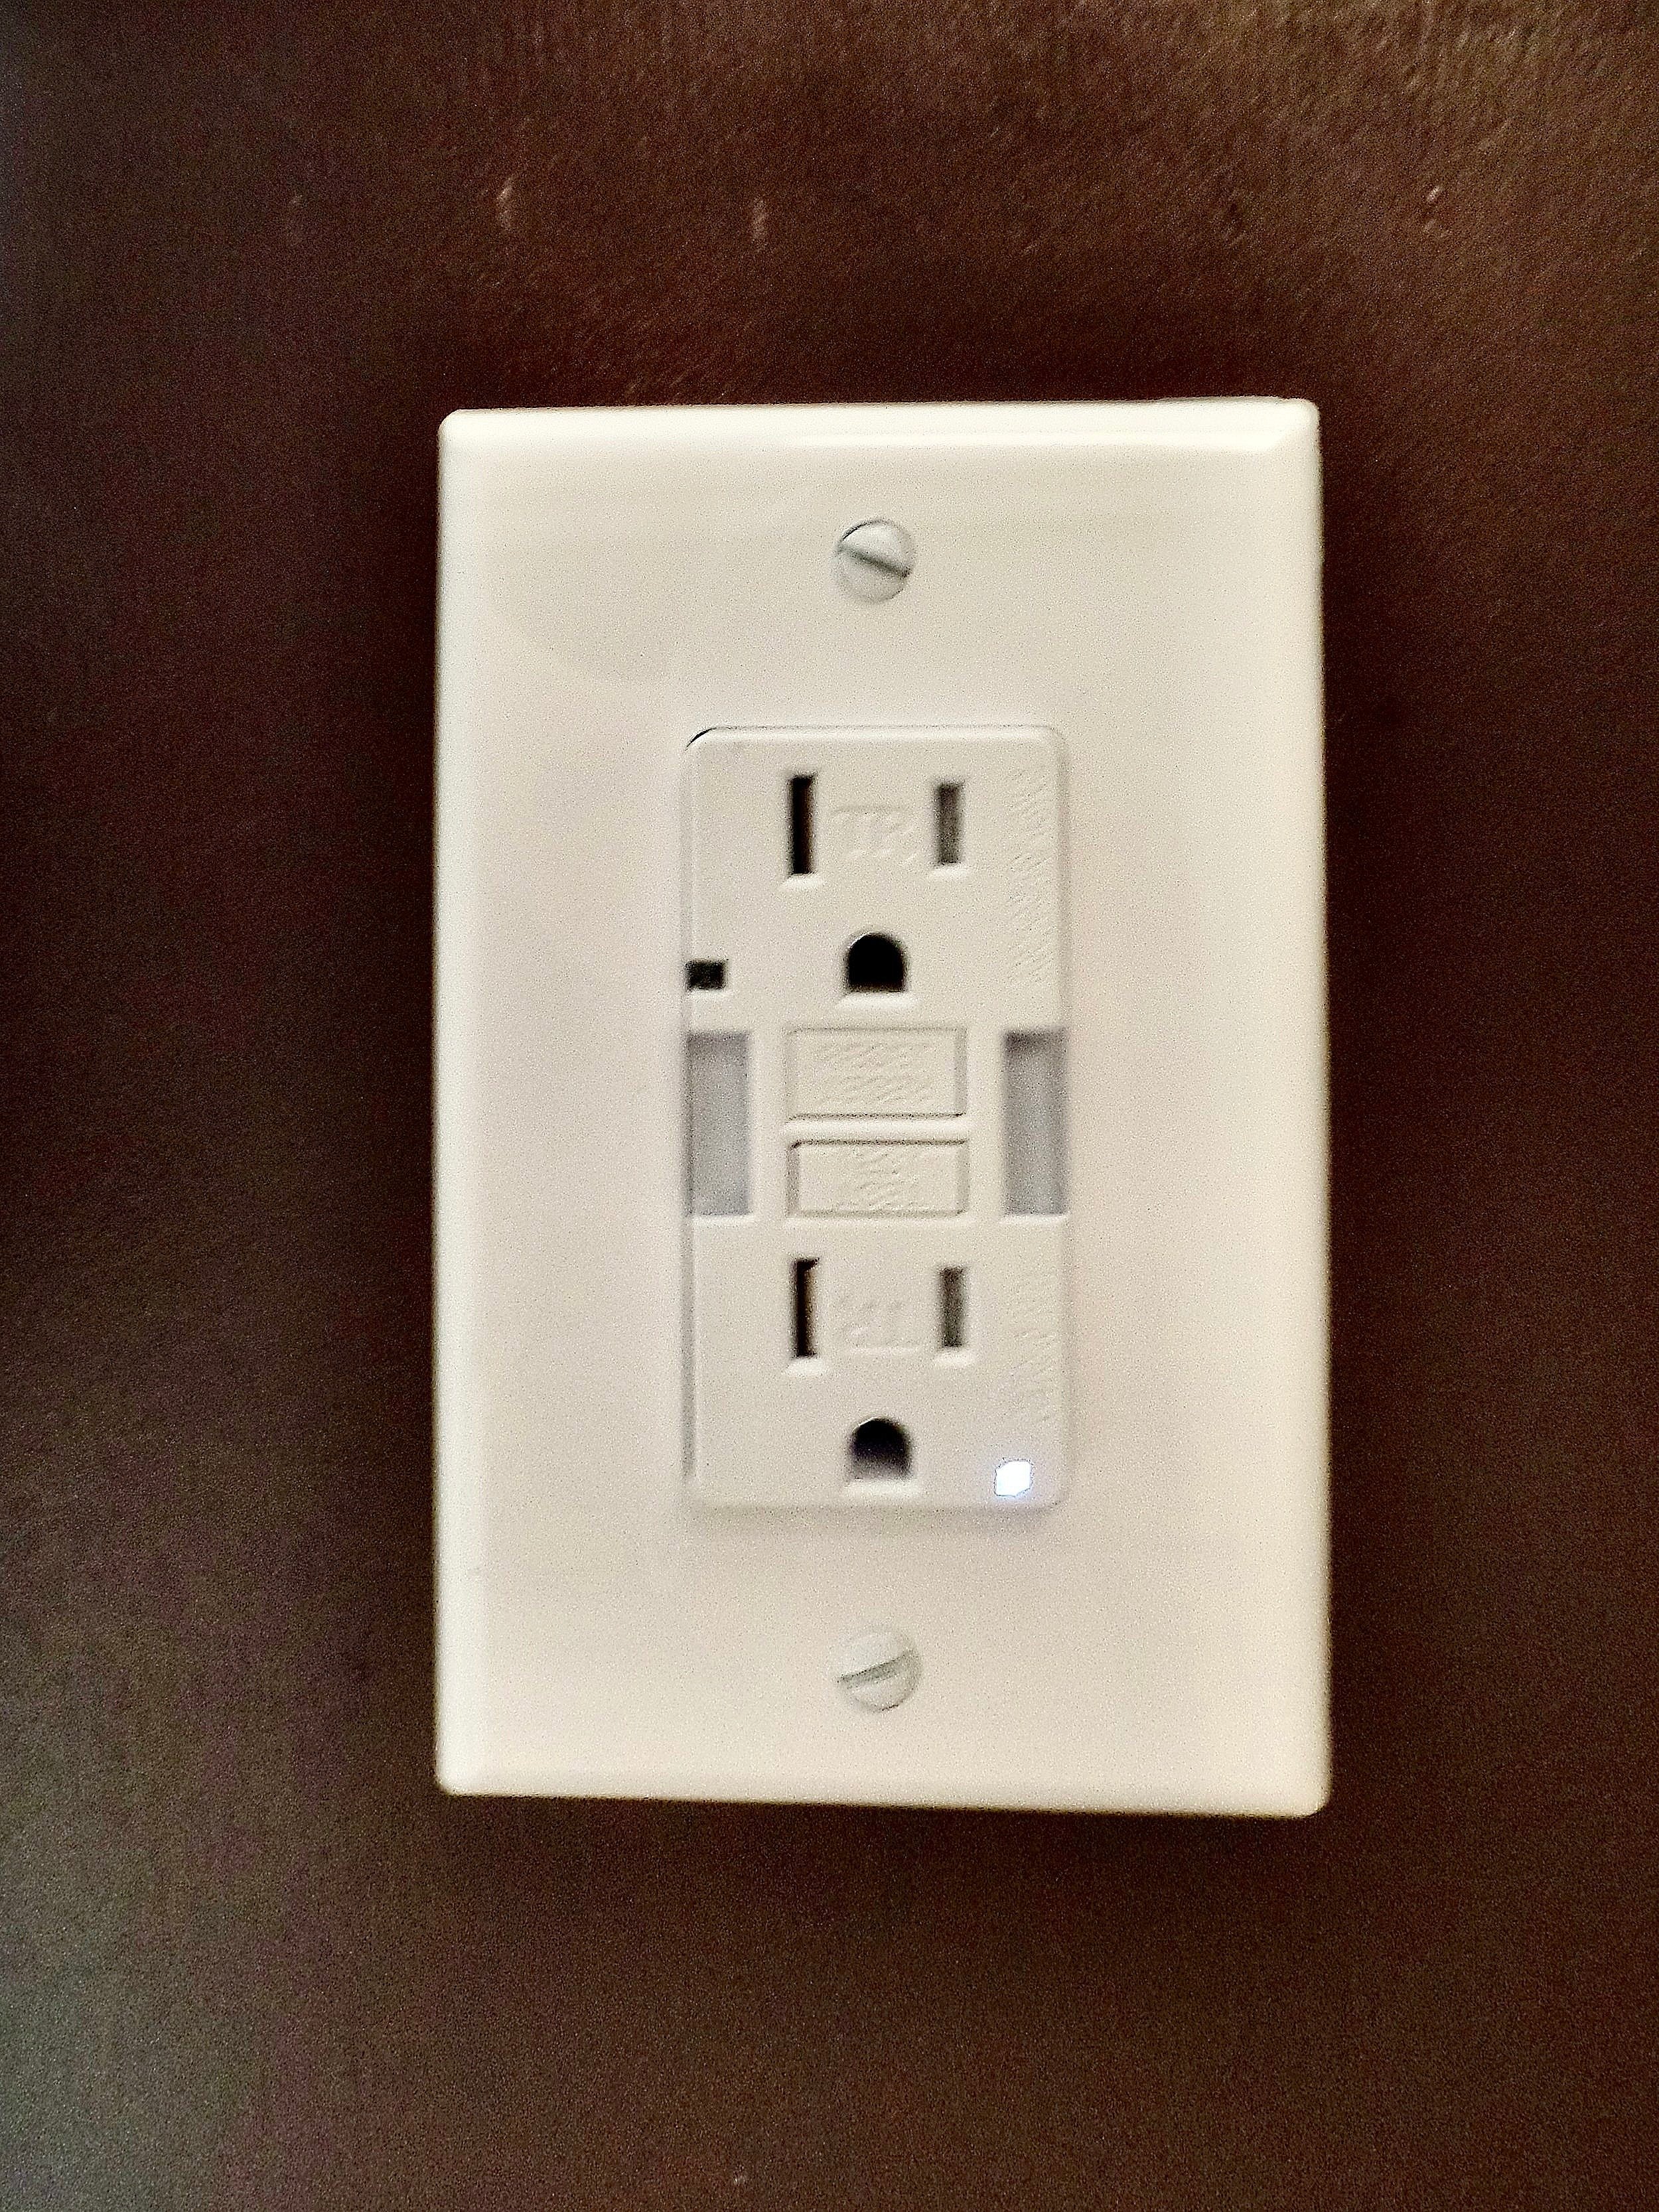
In this blog post, we'll share with you the step-by-step process of installing a new electrical outlet plug in your pop-up camper or RV. The update may seem small, but it can make a big difference in the look and functionality of your home on wheels. Upgrading your outlets to a white color can give your RV a modern and updated feel, while adding a GFCI (ground fault circuit interrupter) outlet can ensure the safety of your family while on the road. Plus, the added bonus of a built-in nightlight is a practical and convenient touch that will make your camping trips a little bit easier. We'll take you through the process of removing the old outlets, preparing the wires, and installing the new outlet. By the end of this post, you'll have the knowledge and confidence to tackle this simple DIY electrical project yourself.
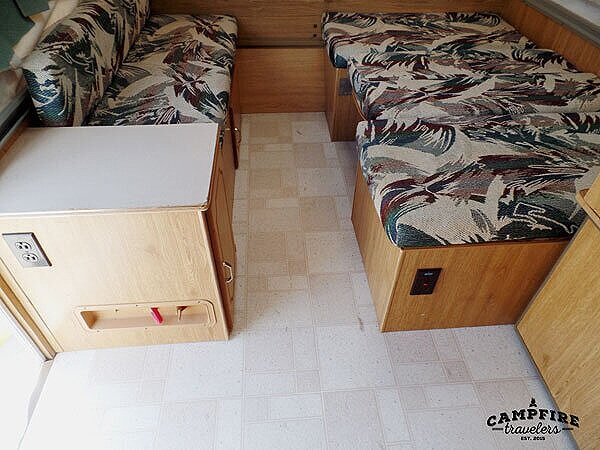
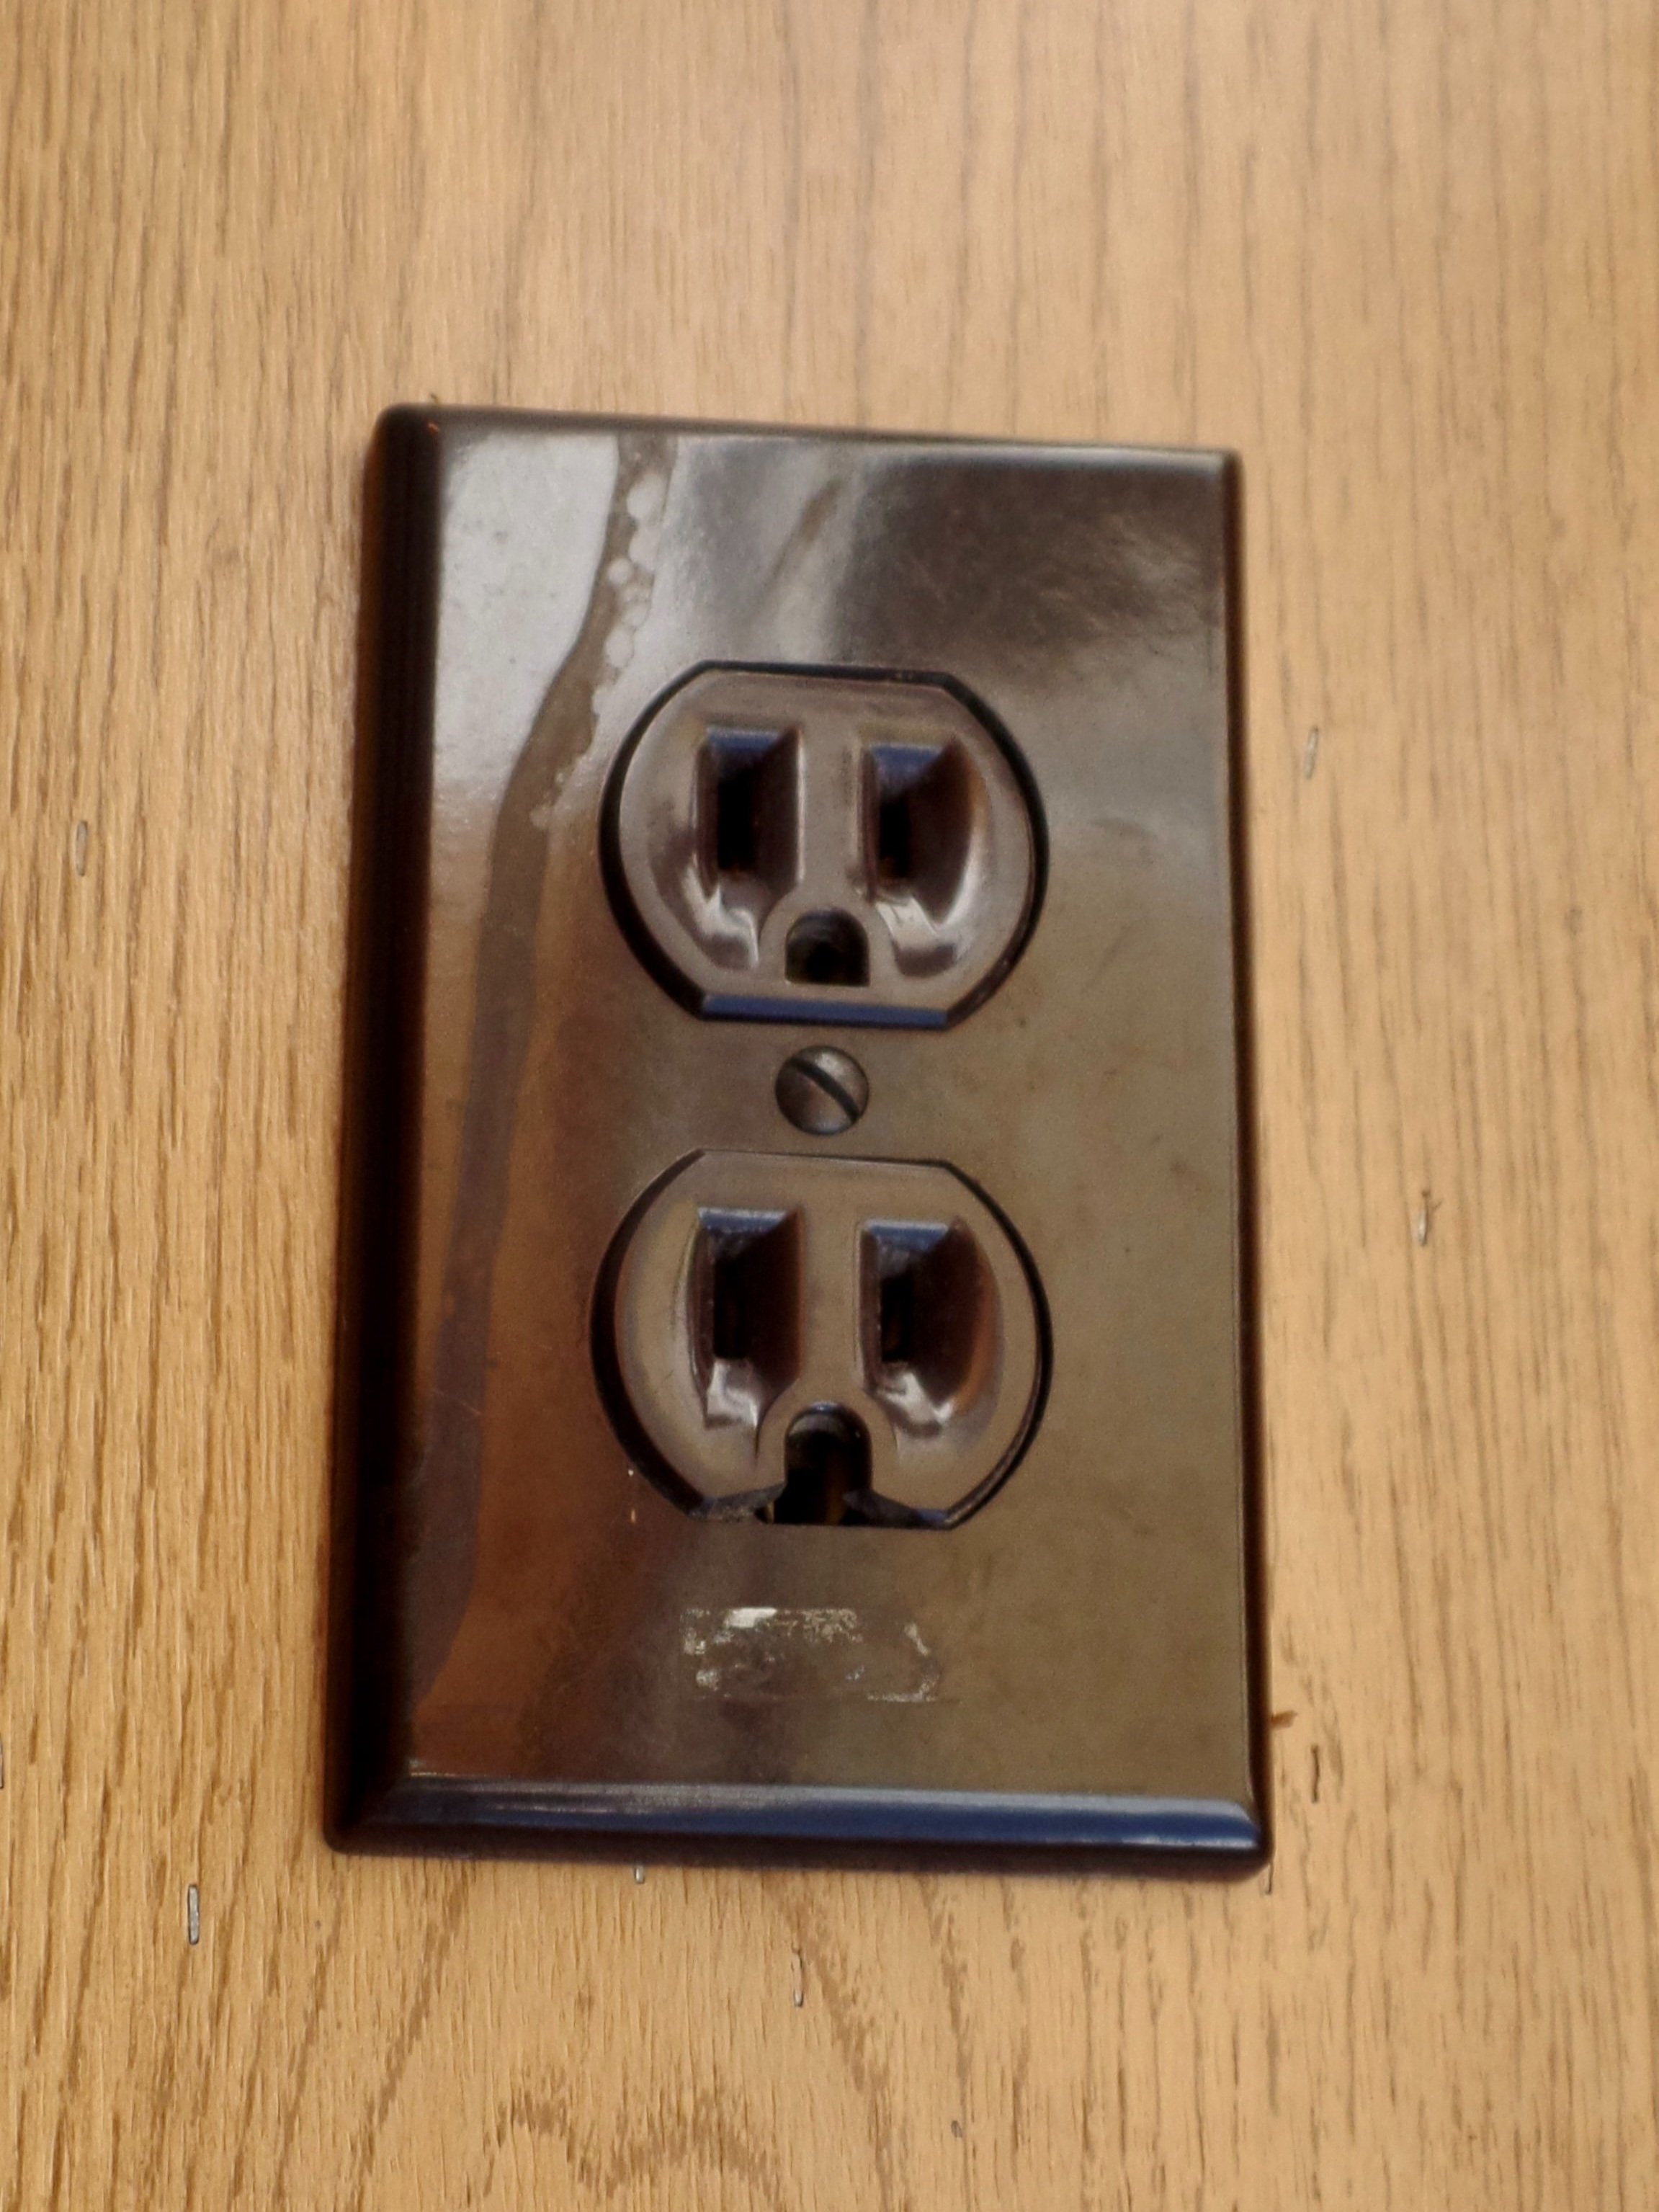
Now that the big updates are done on our DIY pop-up remodel, we are turning to the little items. We decided to replace the electrical outlets for a few reasons. Honestly, it was mostly for looks. Everything else has been updated, why not bring in shiny white outlets. Also, the previous owners had removed the GFCI. We really felt compelled to put one back in.
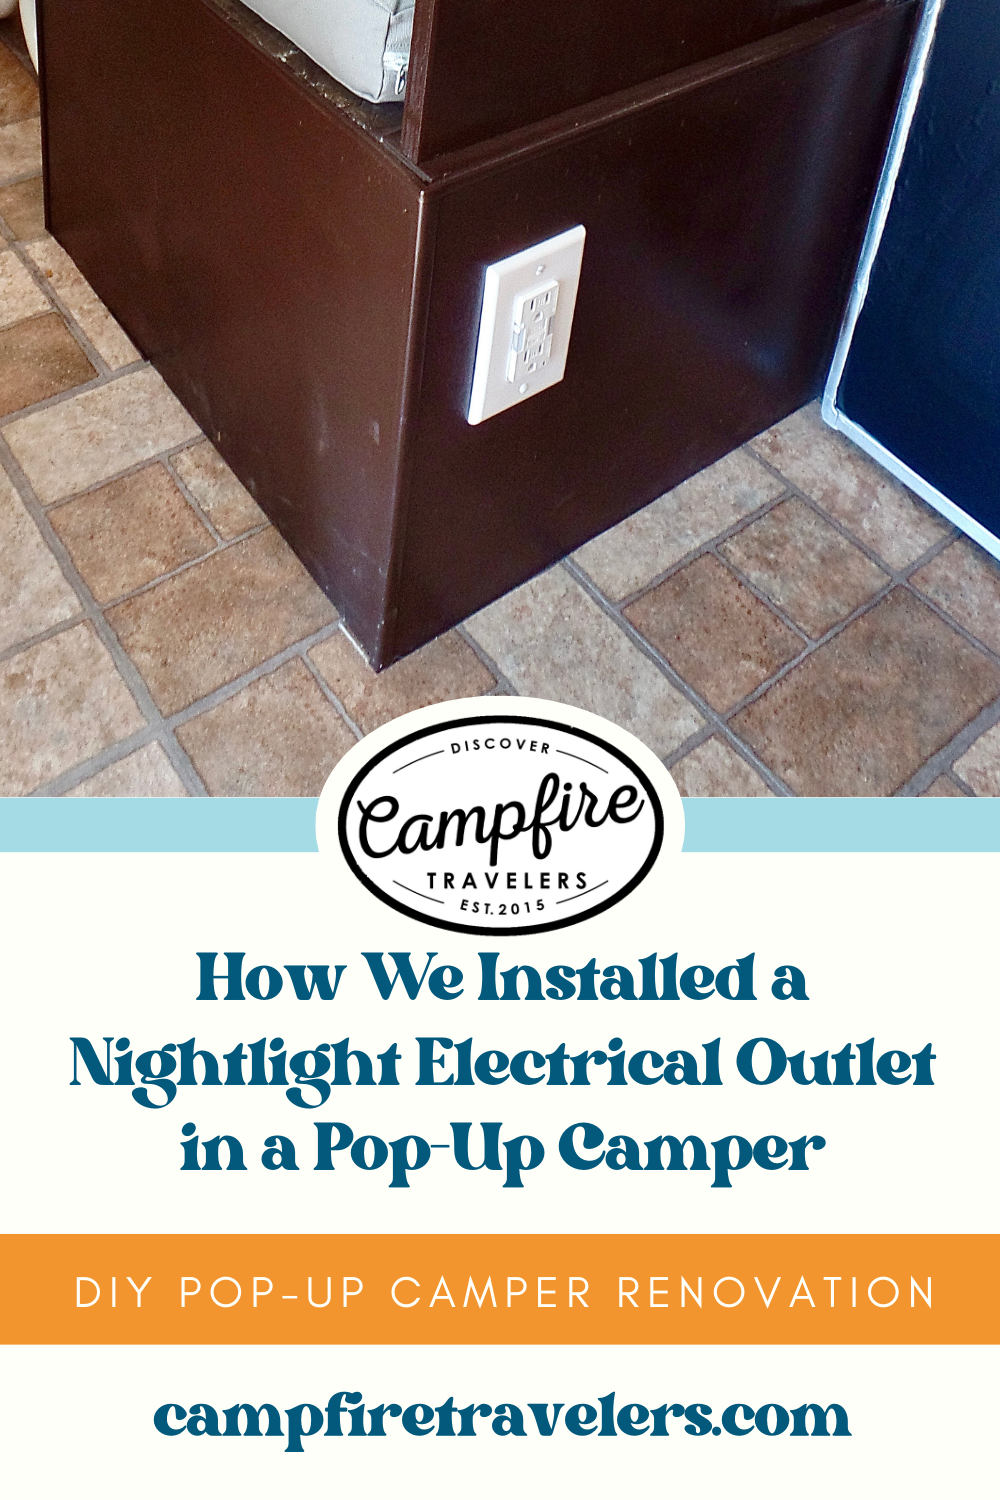
Now here's the genius idea - we installed a built-in NIGHTLIGHT!! Let's be honest this isn't just for the kids. This is a gotta pee in the middle of the night, where's my water, what was that noise in the middle of the night light. Over the course of our past few trips, we have continuously noted that this was a great decision.
We purchased our outlet locally, but you can find the exact same one here.

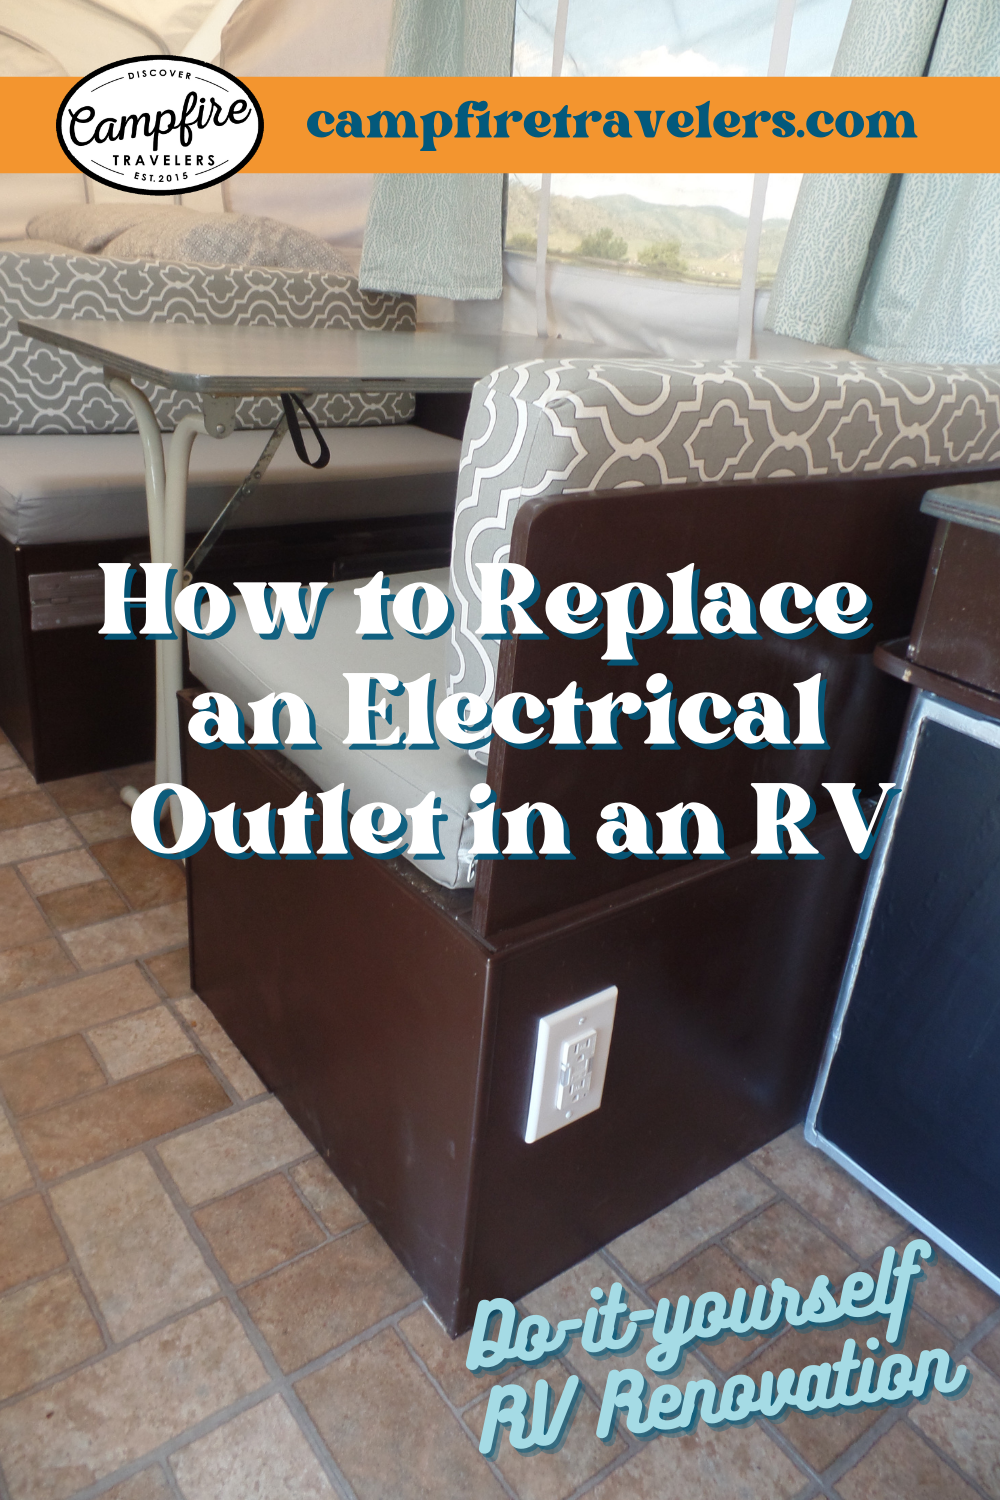
How to Replace an Electrical Outlet in an RV
Installing a new electrical outlet plug in your RV can seem like a daunting task, but with a few tips and the right tools, it can be a simple and straightforward DIY project. Whether you're a seasoned RV owner or a newbie, this guide will walk you through the process of installing a new electrical outlet in your RV and help you get the job done safely and efficiently.
Materials you will need:
Wire connectors
Electrical tape
Screwdrivers
Wire stripper
Voltage tester
Step 1: Turn off the power - Before you begin, make sure that the power to the outlet you're replacing is turned off. This can usually be done at the main electrical panel in your RV. Test the outlet to make sure it's not live by using a voltage tester.
Step 2: Remove the old outlet - Use a screwdriver to remove the screws that secure the old outlet to the electrical box. Carefully pull the old outlet out of the box and disconnect the wires. You may need to cut the wires or use wire connectors to remove the old outlet.
Step 3: Connect the wires to the new outlet - Connect the wires to the new outlet by following the manufacturer's instructions. Usually, the black or red wire is the hot wire and goes to the brass screw, the white wire is the neutral wire and goes to the silver screw, and the green or bare wire is the ground wire and goes to the green screw. Tighten the screws securely.
Step 4: Secure the new outlet in place - Once the wires are connected, secure the new outlet in place by screwing it into the electrical box. Make sure it's flush with the wall.
Step 5: Test the new outlet - Turn the power back on and test the new outlet to make sure it's working properly. If everything is working as it should, use electrical tape to secure the wires and cover any exposed wire.
Step 6: Mount the cover plate - Finally, mount the cover plate over the new outlet by securing it with screws.
Congratulations, you have successfully installed a new electrical outlet in your RV! By following these steps, you can improve the functionality of your RV and make it a more comfortable and enjoyable space. Just remember to always use caution and follow the manufacturer's instructions when working with electrical systems.
If you’re curious about how we renovated any other parts of our 1999 Palomino pop-up camper please check out the links below or visit our main page here.
The BEST way to clean the canvas
Why we painted the furnace cover
Creating new blackout curtains
Creating a new nightlight and replacing outlets
And if you ever have any questions, please feel free to check out our FAQ to contact us or leave a comment below!
SHARE this post!
PIN this for later!
