DIY Pop-Up Camper Renovation: Replacing a Seat Back with MDF Board
Hi! Welcome to Campfire Travelers. Back in 2015, we transformed our little pop-up camper into a shining, clean, and updated home on wheels for less than $1000. We took what we learned and wanted to help others in their own DIY RV renovation. You can learn more here. And if you ever have any questions please feel free to contact us here.
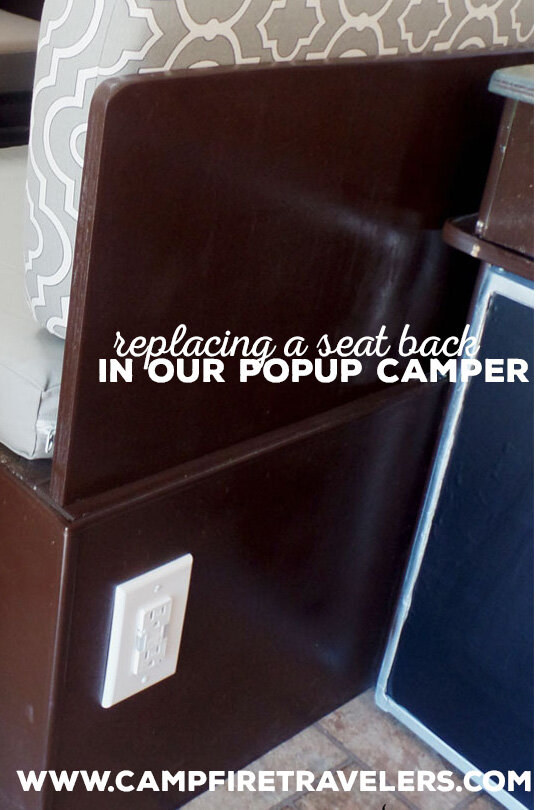
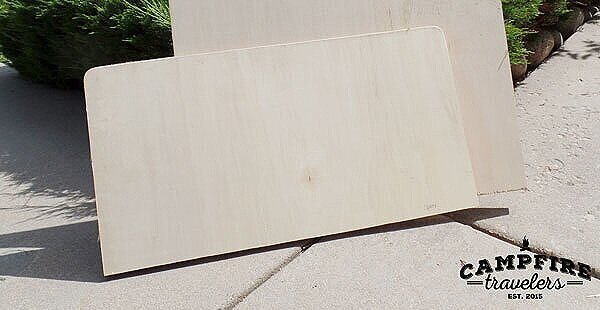
I think one of the biggest downsides to buying a pre-owned RV is dealing with the previous owner’s choices. The previous owners of our camper made some...um, unusual choices. One of those choices was to remove the seat back from one side of the dinette. Consequently, every time we leaned back against the dinette cushion we would fall back or the cushions would get jumbled. So, it was time to replace the seatback they had removed. We came up with our measurements based on the height of the back cushion and length for weight distribution. Using a quality piece of 3/4" thick MDF we cut the board to length and rounded the corners with a orbital sander. The board was smooth but we did do some touch-up sanding to give it a nice even feel.
Instructions for Building an RV Pop-Up Camper Dinette Bench Seat Fold Down Back Rest:
Materials Needed:
3/4" MDF board
Metal hinges
Measuring tape
Saw (circular saw or jigsaw)
Sandpaper
Wood glue
Screws
Screwdriver or drill
Primer and paint (optional)
Steps:
Measure and Cut: Measure the size of the backrest you need and cut the MDF board to size using a saw. If necessary, make additional cuts for any curves or shapes desired. Sand the edges and surface of the MDF board to smooth any rough spots.
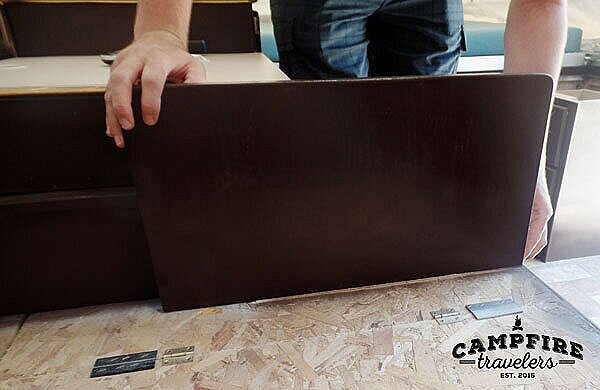
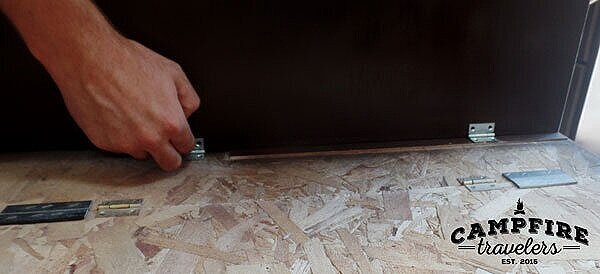
Attach Hinges: Attach metal hinges to the bottom of the MDF board and the dinette bench seat. Make sure they are aligned and secure.
Glue and Screw: Apply wood glue to the back of the MDF board and position it in place against the bench seat. Secure the MDF board to the bench seat with screws, making sure the hinges are sandwiched between the two pieces.
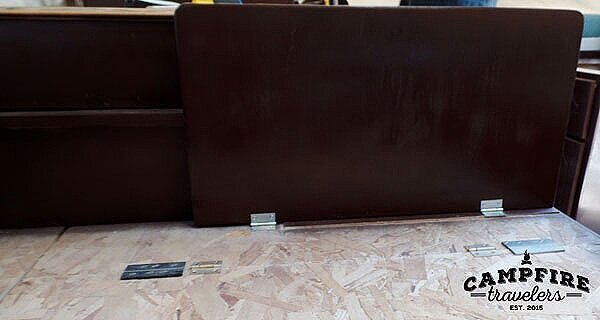
Paint or Finish: If desired, prime and paint the backrest to match the RV's interior. Let the paint dry completely before reassembling the dinette. We spray-painted the same espresso color as the rest of the cabinets.
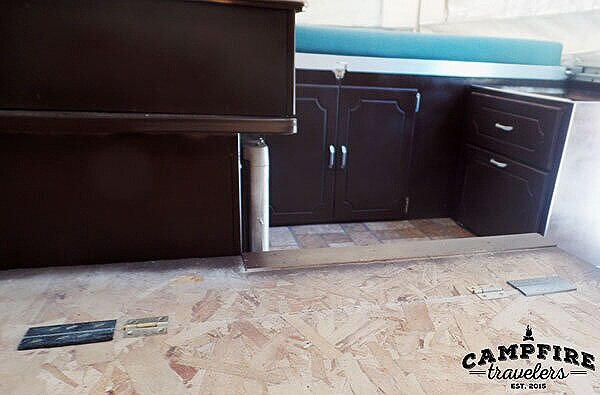
Assemble: Reattach the dinette bench seat to the RV and test the backrest for stability and ease of movement. Make any necessary adjustments to ensure it is secure and functional.
By following these steps, you can build a sturdy and attractive backrest for your RV pop-up camper dinette bench seat, adding both comfort and style to your living space.
All in all, this was probably the easiest solution to the hardest problem of our DIY RV renovation. And now there’s no more sliding around.
If you’re curious about how we renovated any other parts of our 1999 Palomino pop-up camper please check out the links below or visit our main page here.
The BEST way to clean the canvas
Why we painted the furnace cover
Creating new blackout curtains
Creating a new nightlight and replacing outlets
And if you ever have any questions, please feel free to check out our FAQ to contact us or leave a comment below!