
DIY RV Renovation: Updating the Furnace Cover with Spray Paint
Hi! Welcome to Campfire Travelers. Back in 2015, we transformed our little pop-up camper into a shining, clean, and updated home on wheels for less than $1000. We took what we learned and wanted to help others in their own DIY RV renovation. You can learn more here. And if you ever have any questions please feel free to contact us here.
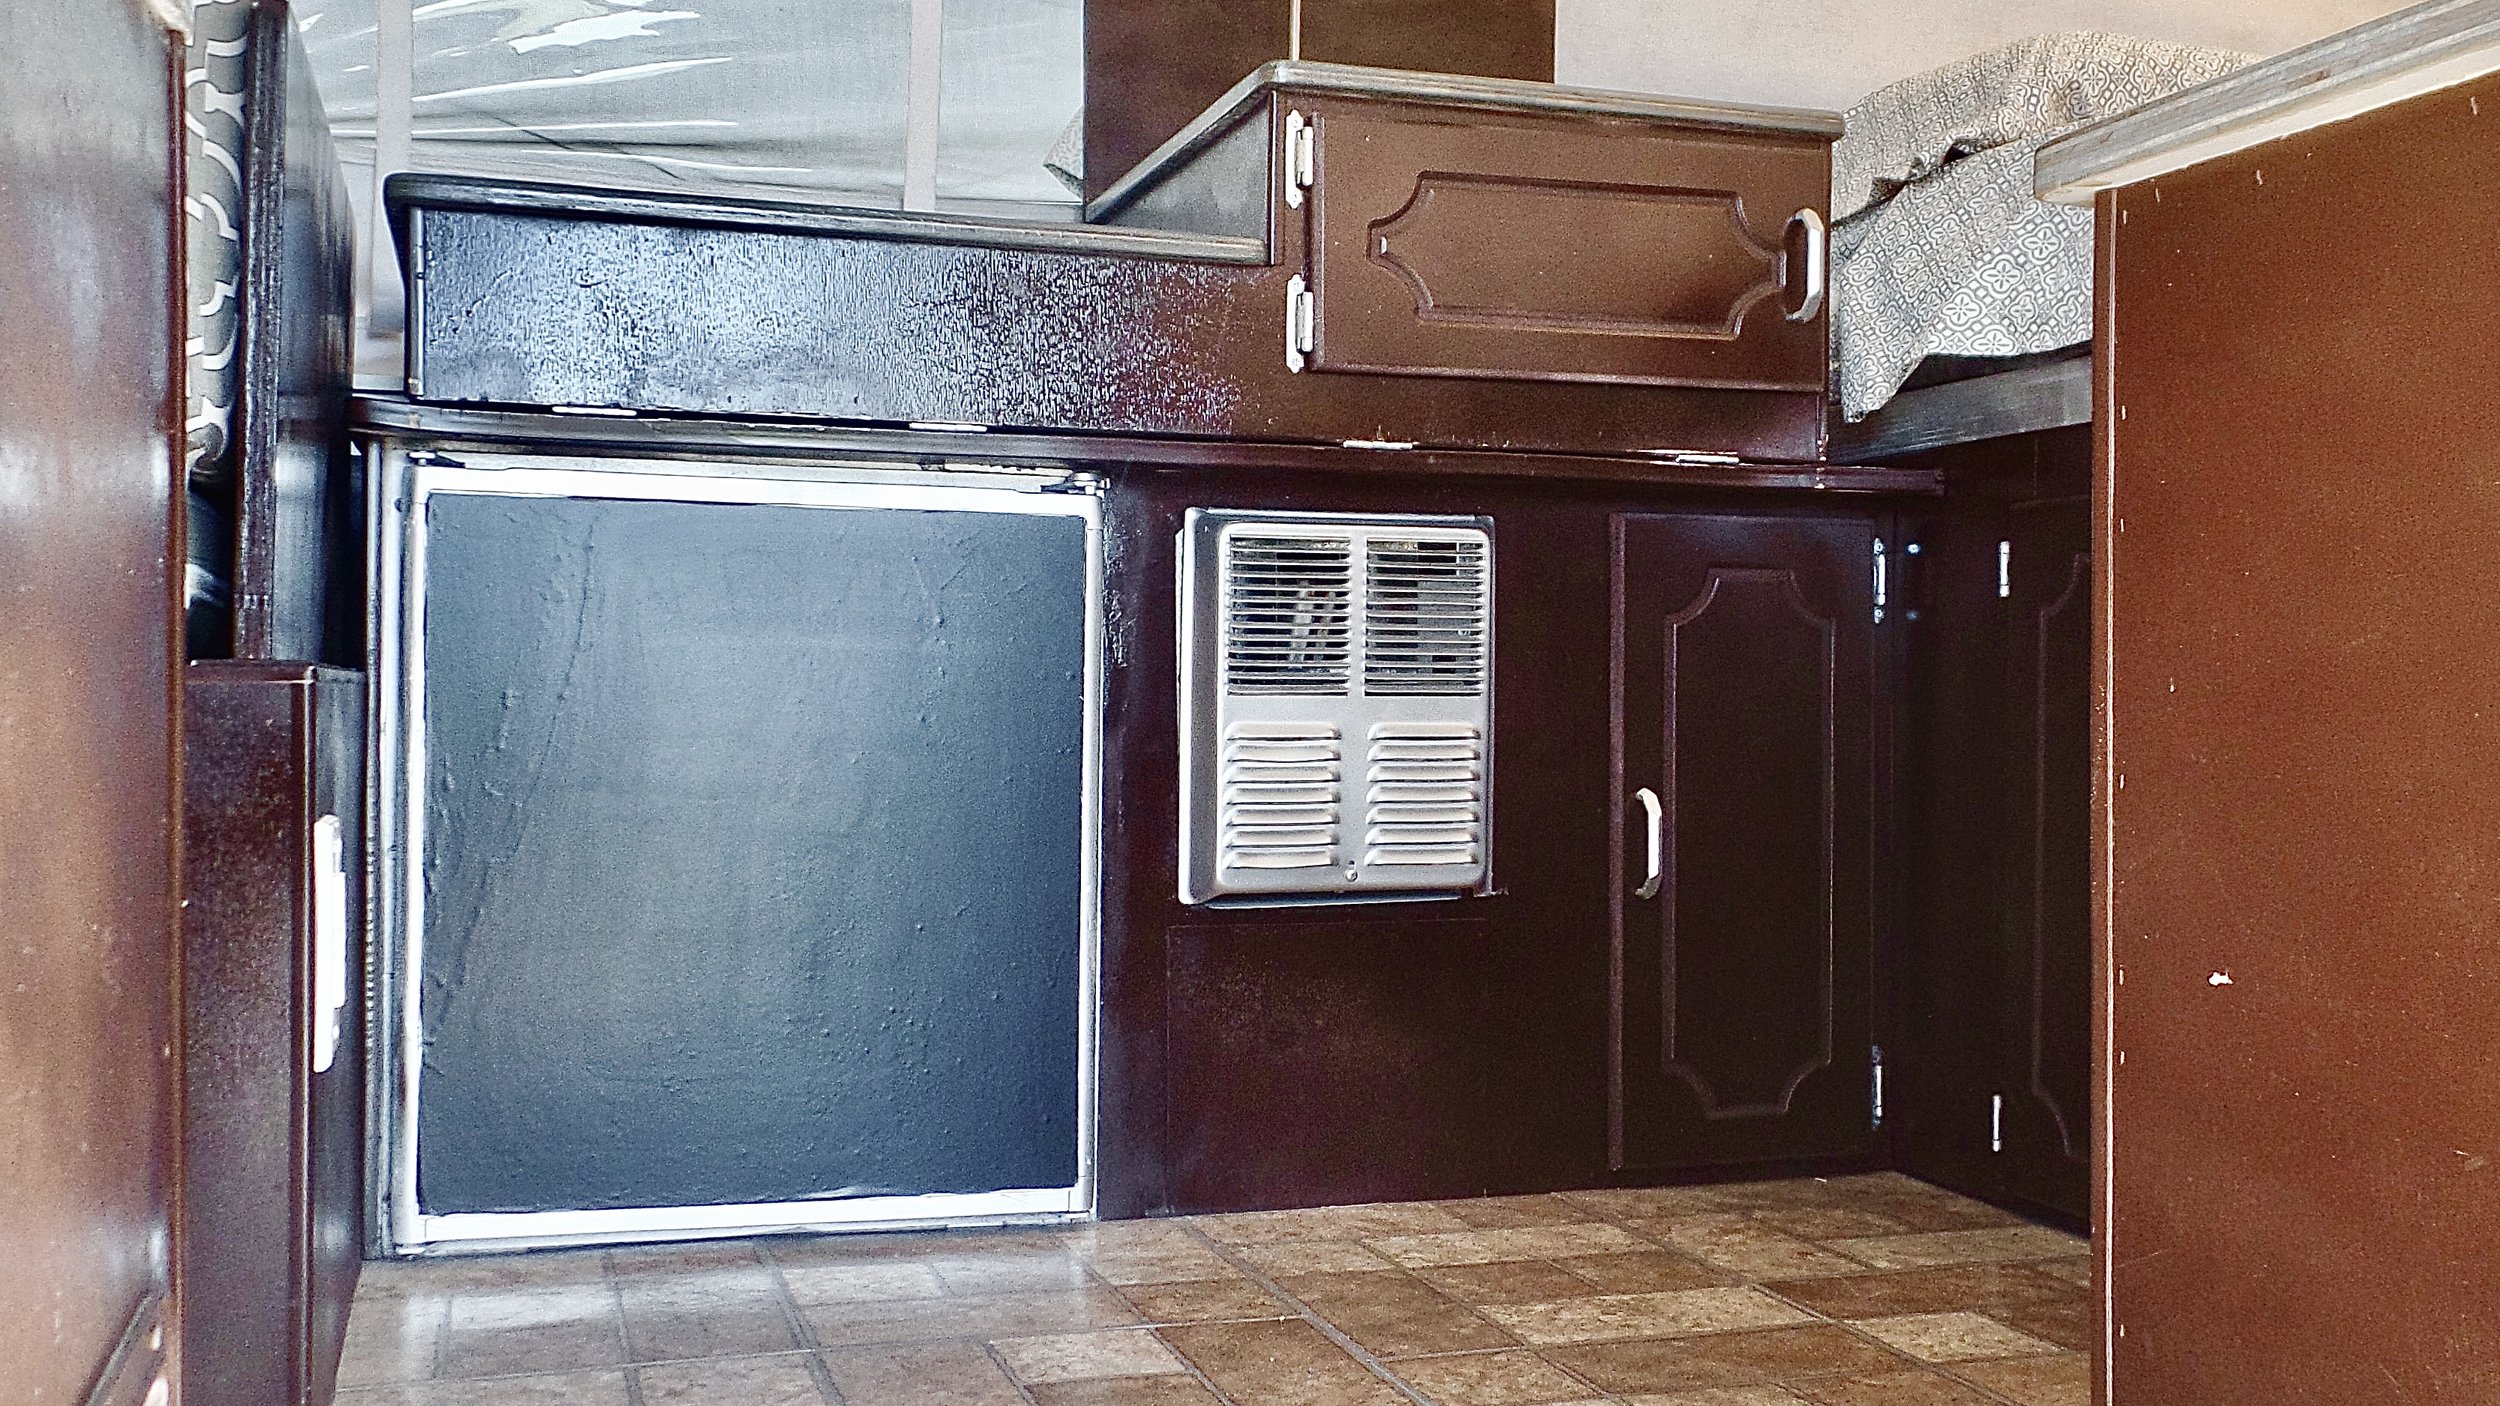
The cabinets in an RV can greatly impact the overall aesthetic and ambiance of a room. With that in mind, we decided to give our RV furnace cover a makeover to match the newly painted hardware. The original light tan color of the furnace was dull and blended in with the cabinets, but with just a few coats of Rust-Oleum Spray Paint using the same technique as the handles and hinges, the furnace cover underwent a dramatic transformation. The result was a striking and noticeable improvement that elevated the entire room.

Instructions for Spray Painting a Metal RV Furnace Cover:
Preparation: Clean the surface of the furnace cover thoroughly with soap and water, then dry completely. Sand any rough or rusty areas lightly to promote adhesion. Wipe down the surface with a degreaser or denatured alcohol to remove any oils or residue.
Masking: If you can’t remove your furnace cover be sure to mask off any areas you do not want painted, such as vents or controls.
Priming: Apply a metal primer to the surface, following the manufacturer's instructions. This will help the paint adhere better and prevent rust.
Painting: Apply thin, even coats of spray paint, allowing adequate time between coats to dry. Typically 2-3 coats are sufficient but consult the paint can for the recommended number of coats.
Drying: Allow the paint to dry completely before reassembling and using the furnace.
Tips for a Successful Spray Paint Job:
Use a well-ventilated area and wear a mask to avoid inhaling paint fumes.
Shake the spray paint can thoroughly before use.
Work in thin, even coats, avoiding drips and runs.
Hold the can approximately 8-10 inches away from the surface and spray in sweeping motions.
If possible, spray in the RV outdoors on a warm, dry day with no wind.
Be patient and allow the paint to dry completely before handling or moving the RV.
By following these instructions and tips, you can successfully spray paint a metal RV furnace cover and give it a fresh and updated look. As you can see it made a huge difference!

If you’re curious about how we renovated any other parts of our 1999 Palomino pop-up camper please check out the links below or visit our main page here.
The BEST way to clean the canvas
Why we painted the furnace cover
Creating new blackout curtains
Creating a new nightlight and replacing outlets
And if you ever have any questions, please feel free to check out our FAQ to contact us or leave a comment below!
